
 Team Management
 Smart Scheduling
 Reports & Alerts
 Location Control
 Leave Approval
 Leave Policies
Stay informed with real-time, accurate data
Keep your team in sync with real-time updates,clear reports, and notifications about upcoming leaves, so everyone stays informed. Easily track time off schedules, balances, and trends without manual work.

Stay Informed & Plan Ahead
Manage leave balances, requests, and approvals. Use reports to spot trends and avoid staffing issues.

Save Time with Automation
Reports and reminders get sent automatically, so nothing gets missed.

Keep Your Team in Sync
Send real-time PTO updates through Slack, Teams, or email, ensuring everyone knows who’s off.


Know exactly who's off and when—no spreadsheets, no surprises
With Vacation Tracker, you’ll always know who’s available, helping you prevent last-minute absences.


Notifications
Customize daily or weekly notifications in Vacation Tracker and receive leave updates in your preferred channel or inbox.
Filter by location, department, or label to get relevant info. Set the delivery time, and we’ll handle the rest—keeping your team informed about upcoming absences.

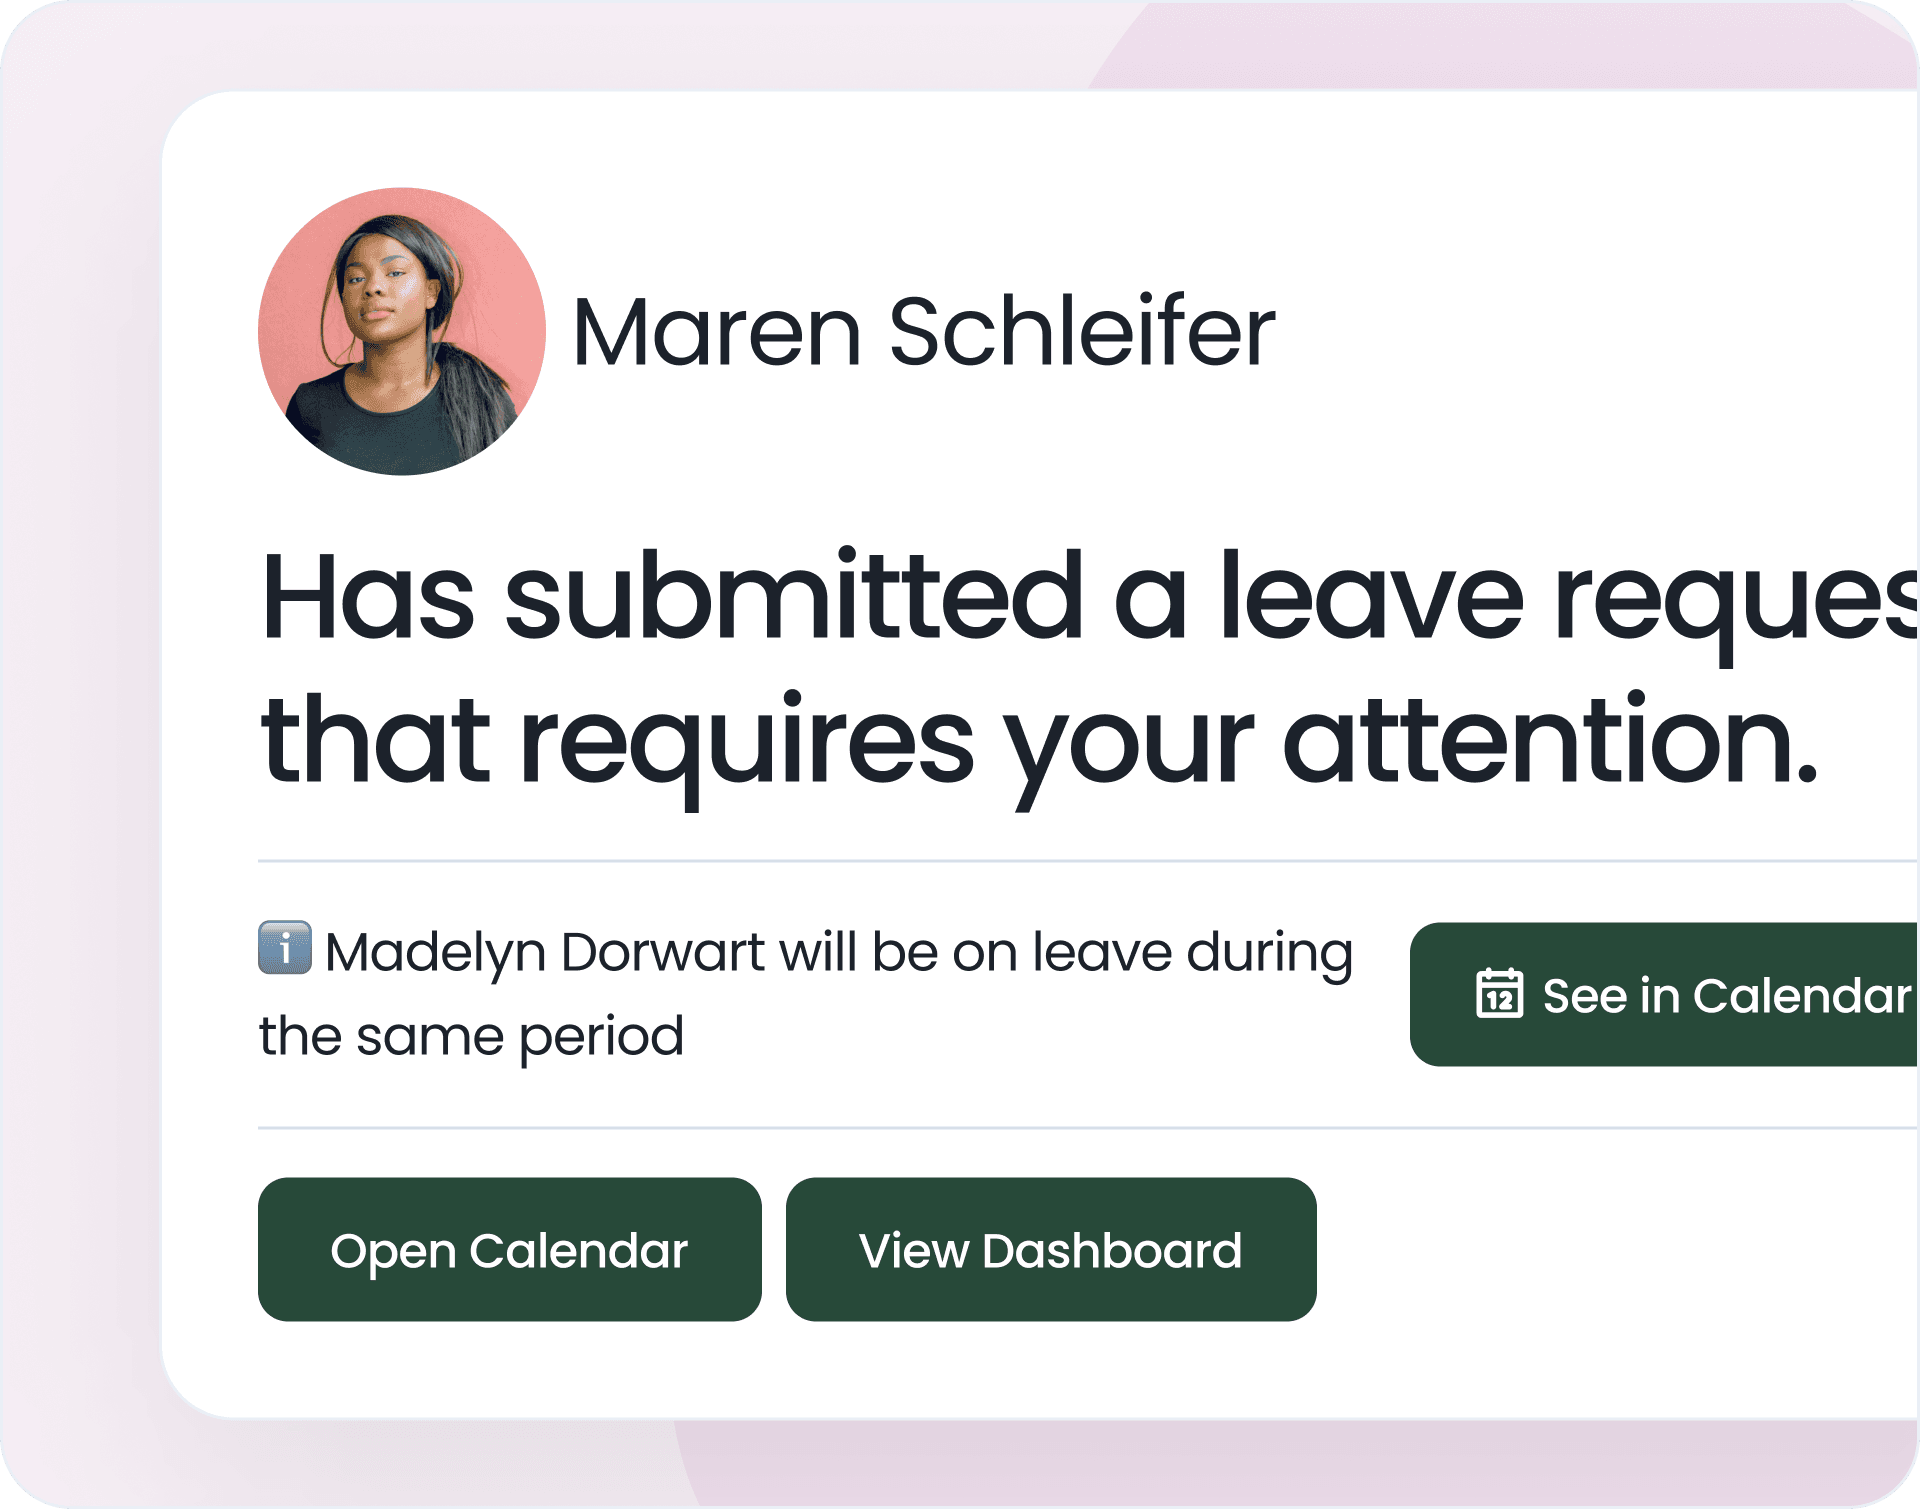
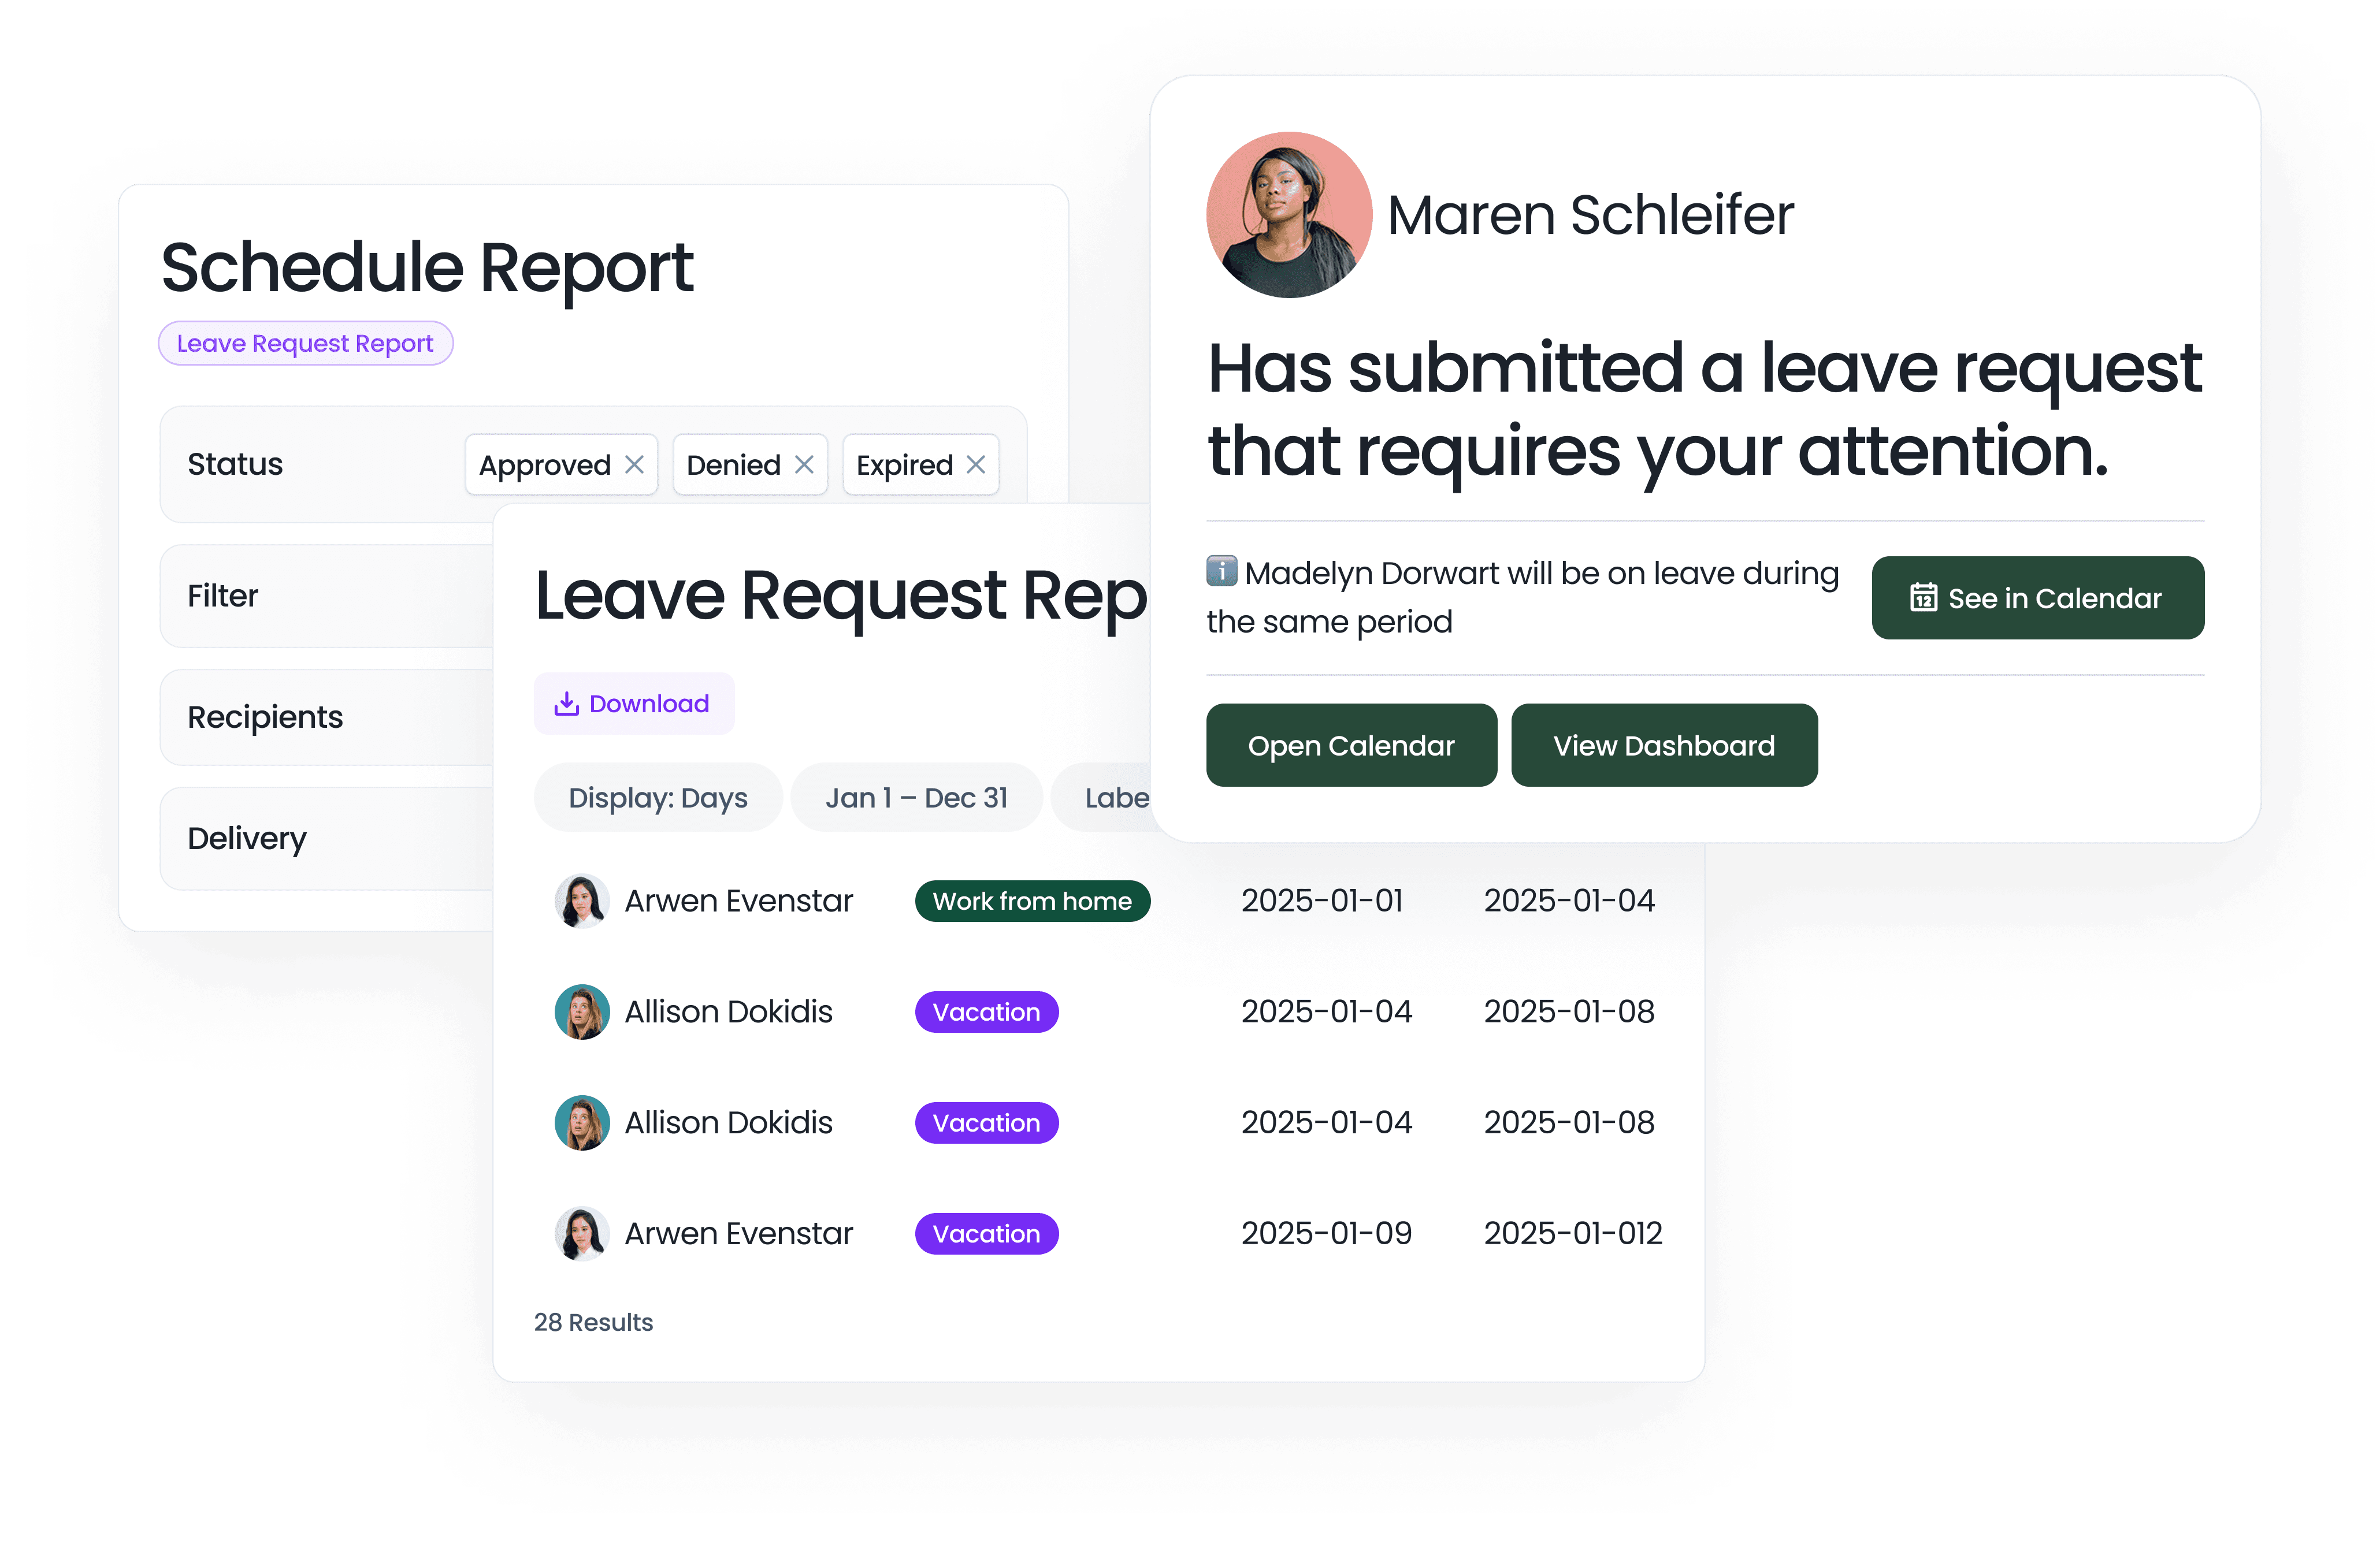
Leave Request Alerts
Stay informed with automatic notifications for important leave updates.
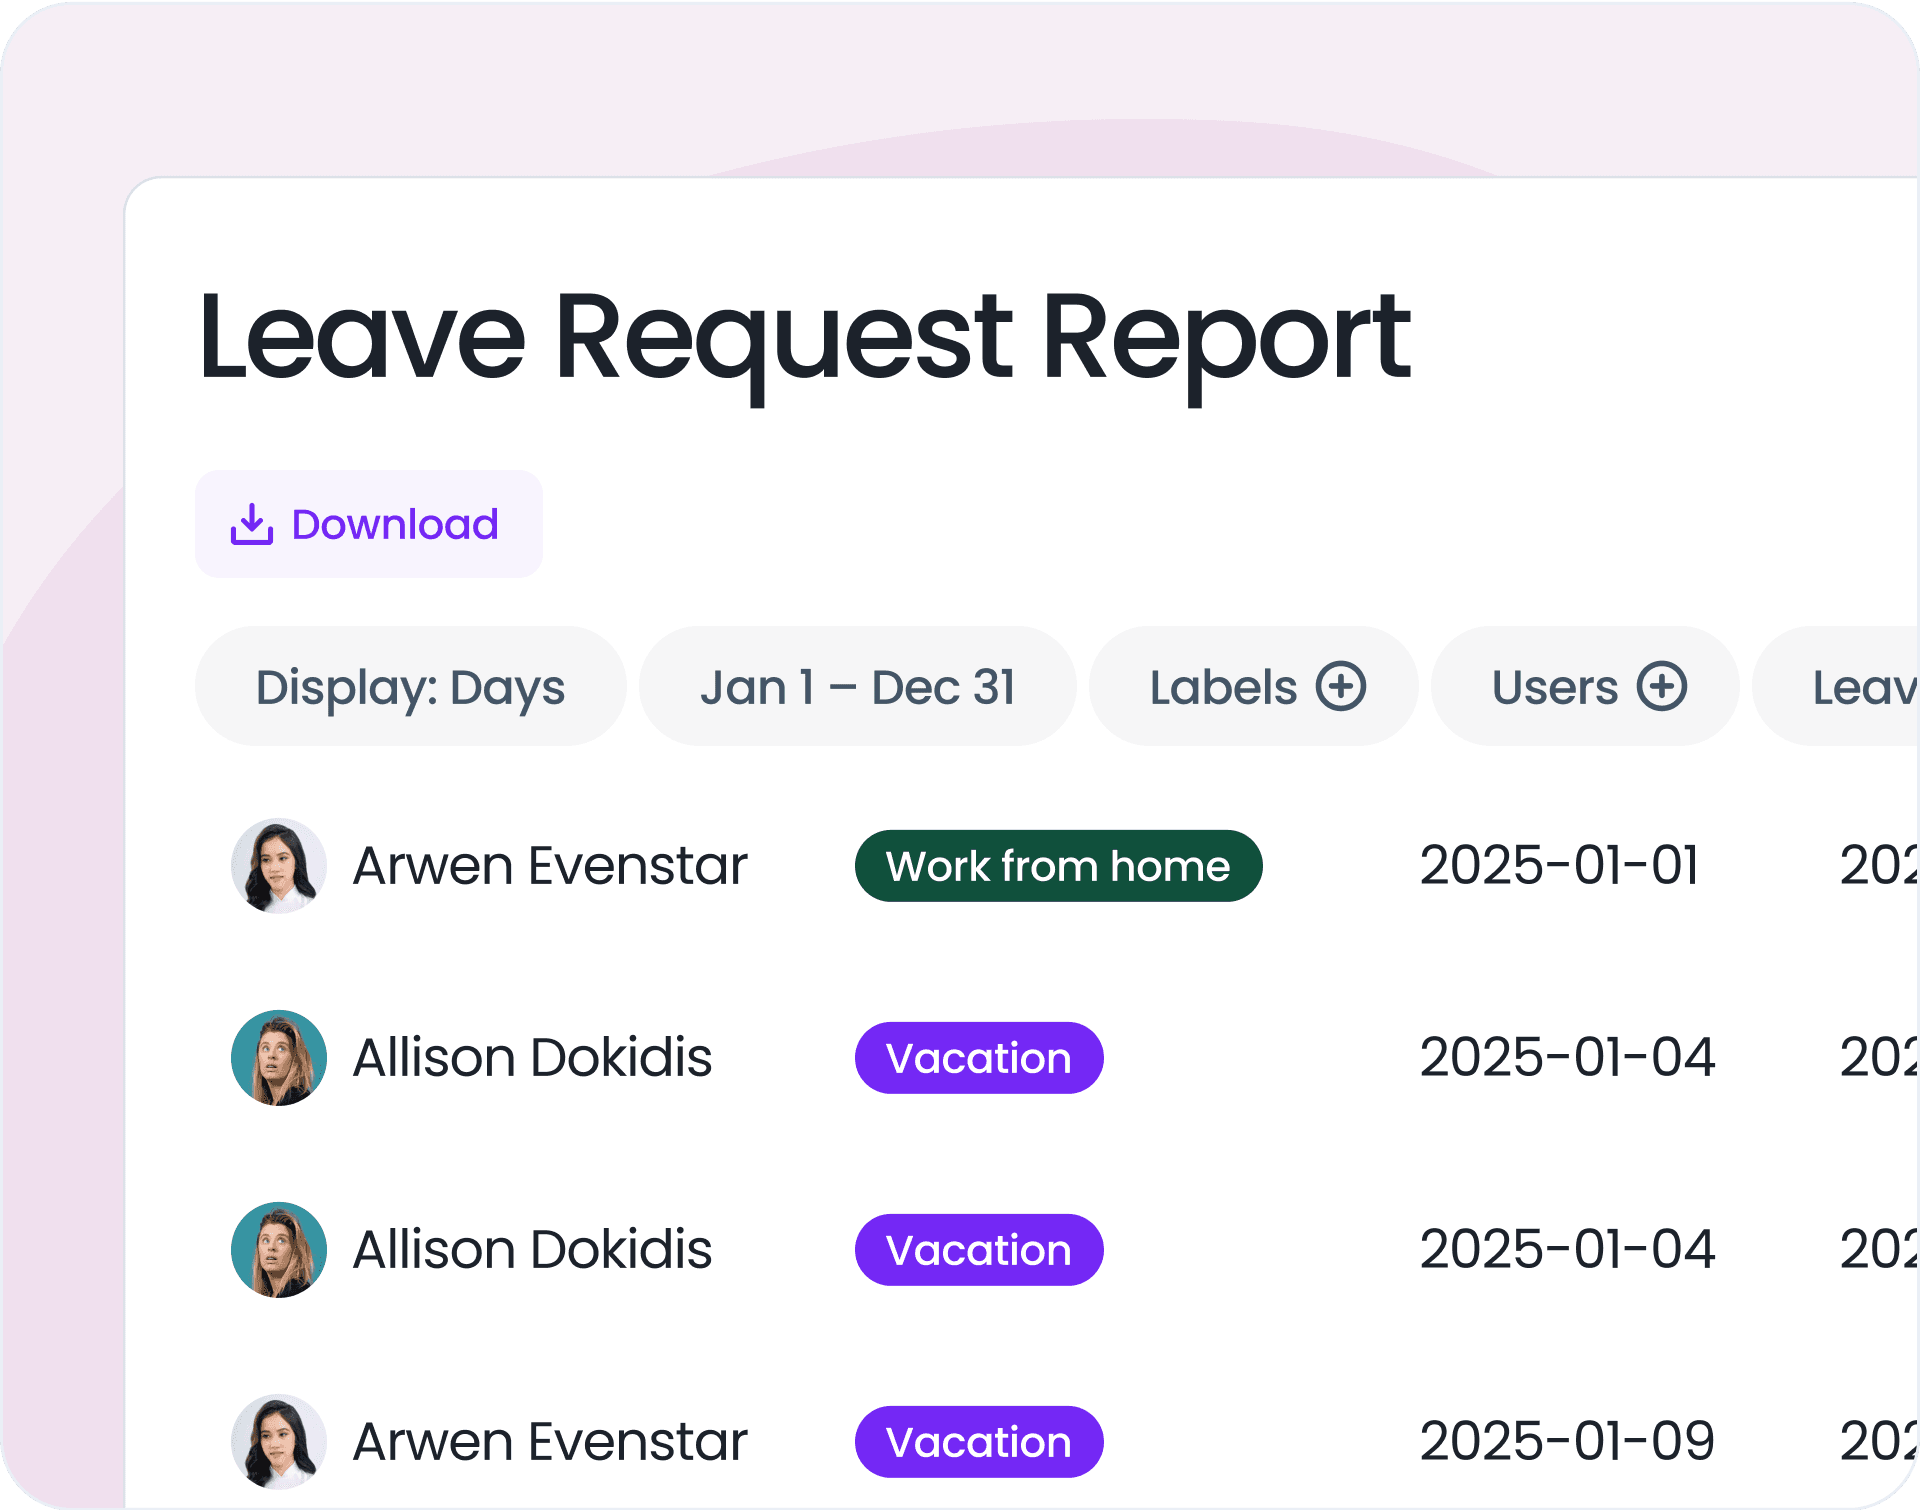
Leave Reports Made Simple
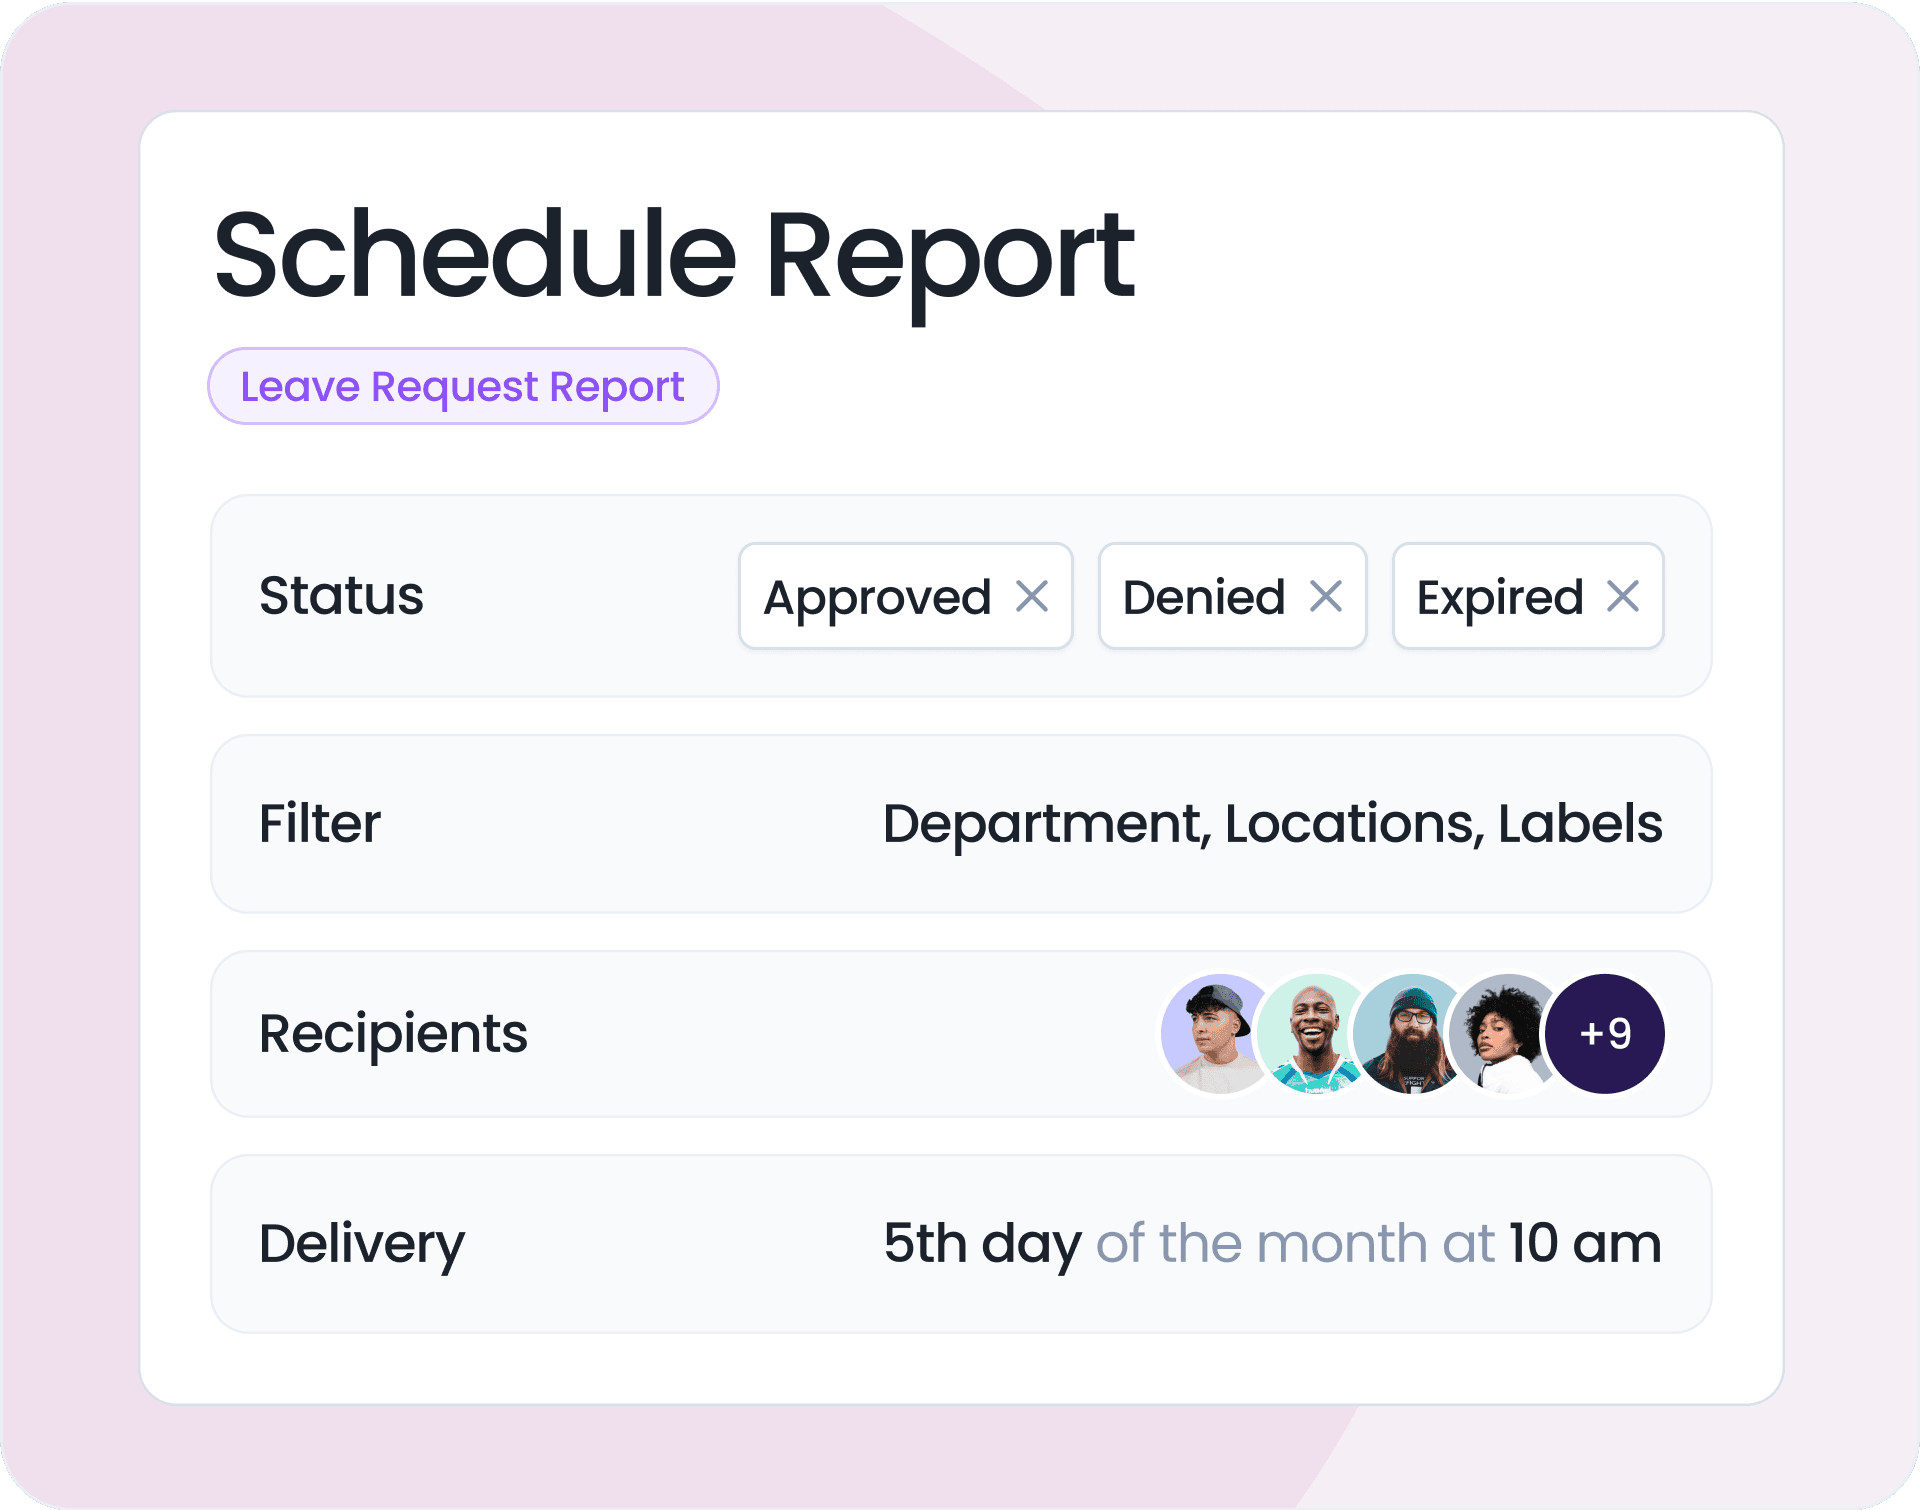
Get a clear breakdown of leave requests by user, leave type, and time frame. See which requests were approved, denied, or expired, and filter by department, location, or Employee ID. The report also includes the approvers who responded to each request.
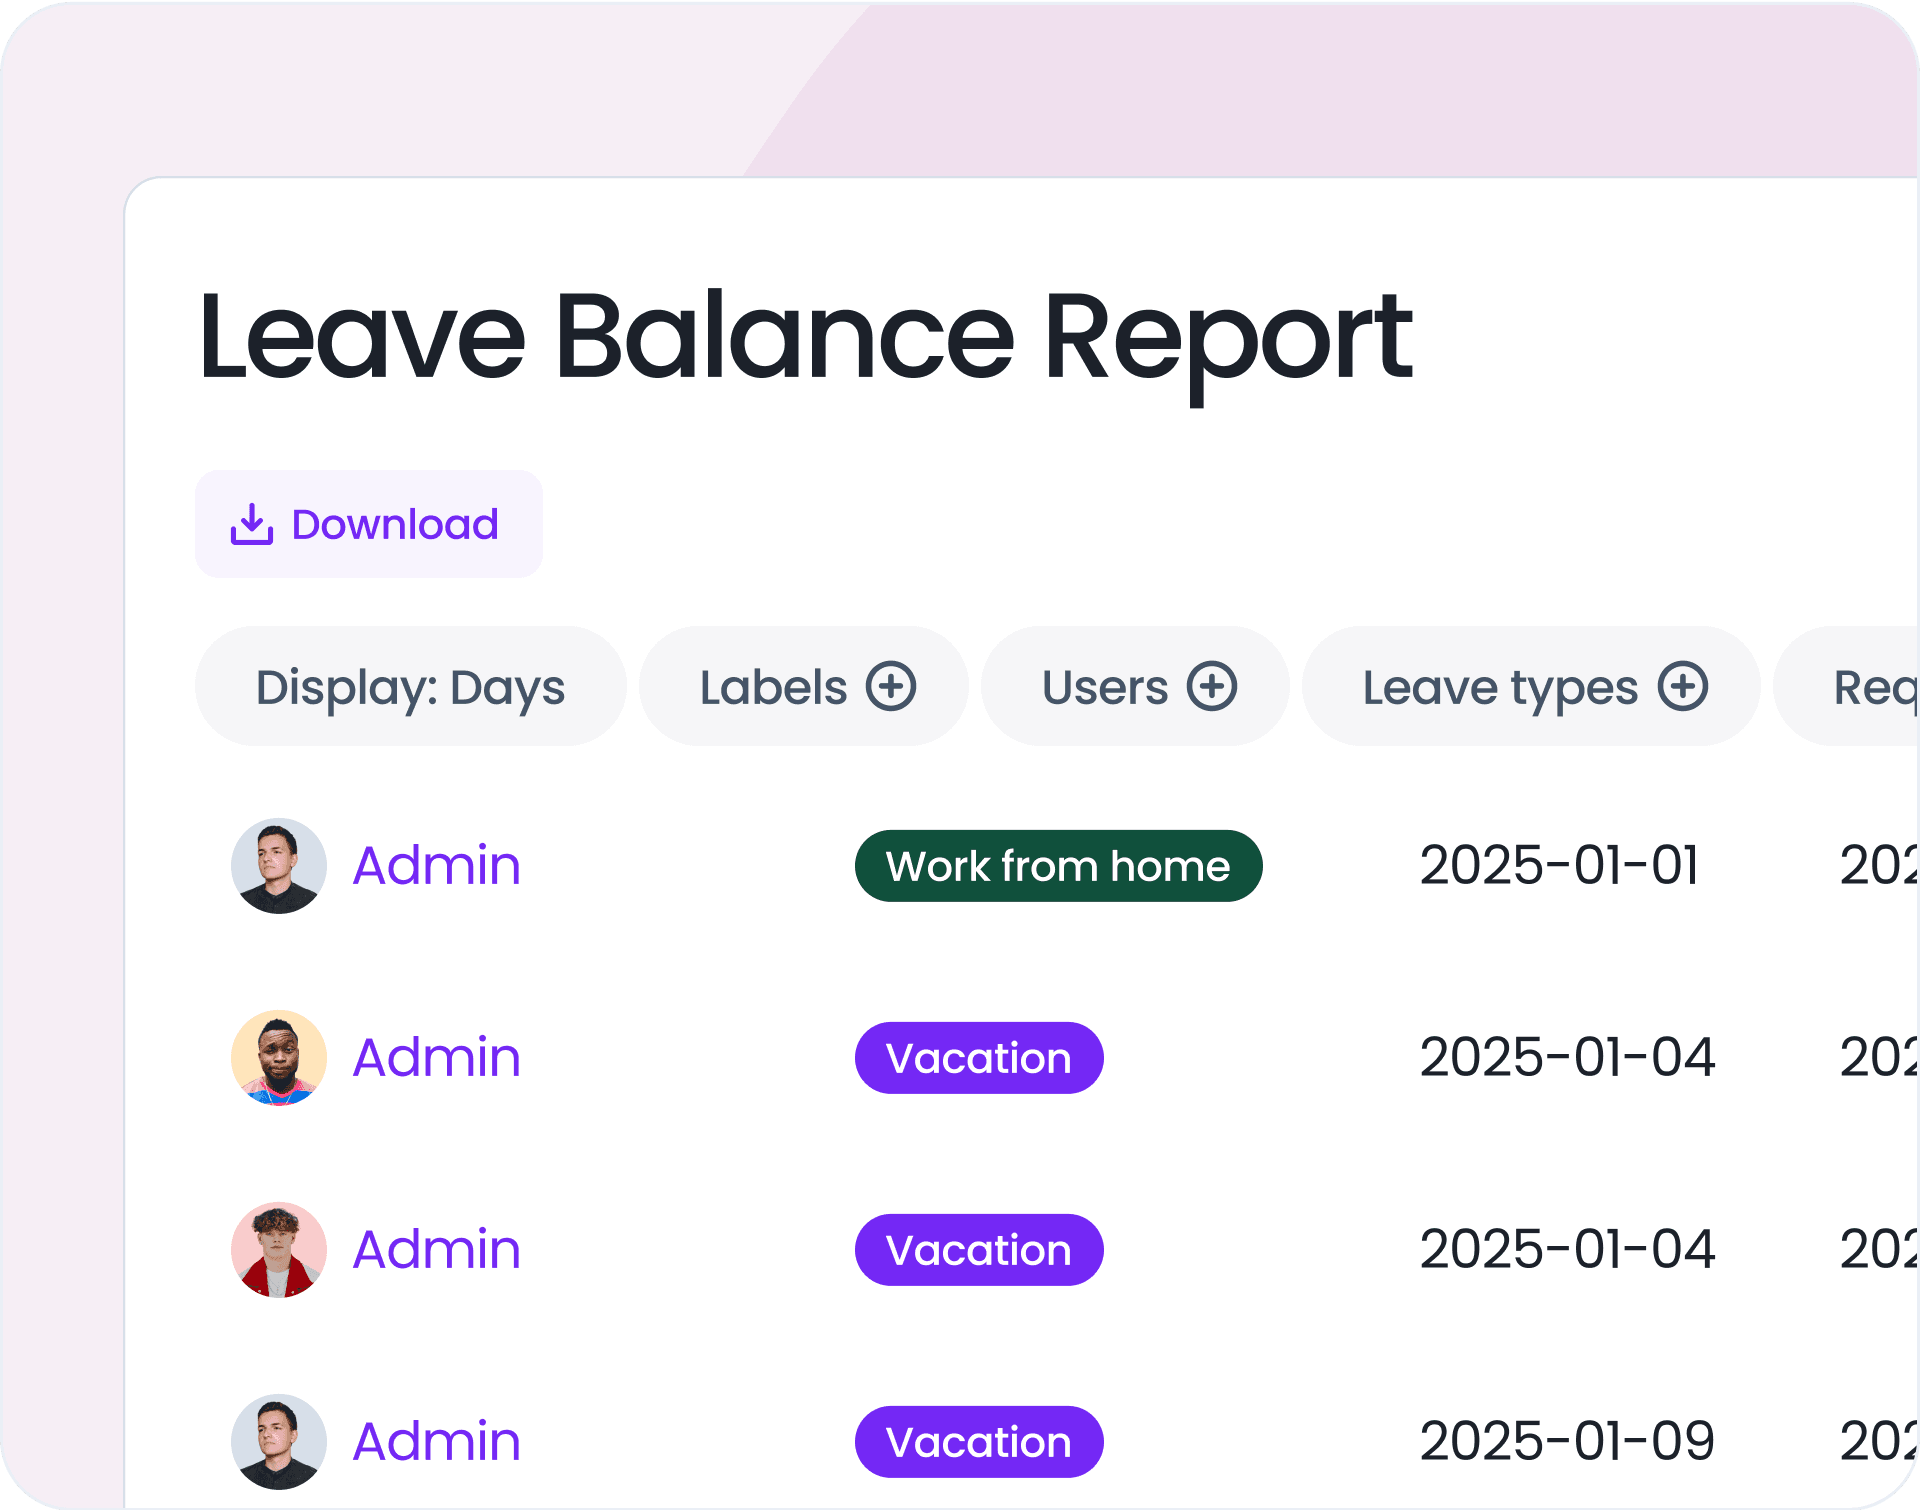
Track leave entitlements and usage for each employee and leave type. Choose from different time periods, including the current year, last month, previous year, or next year, to help with planning and forecasting.
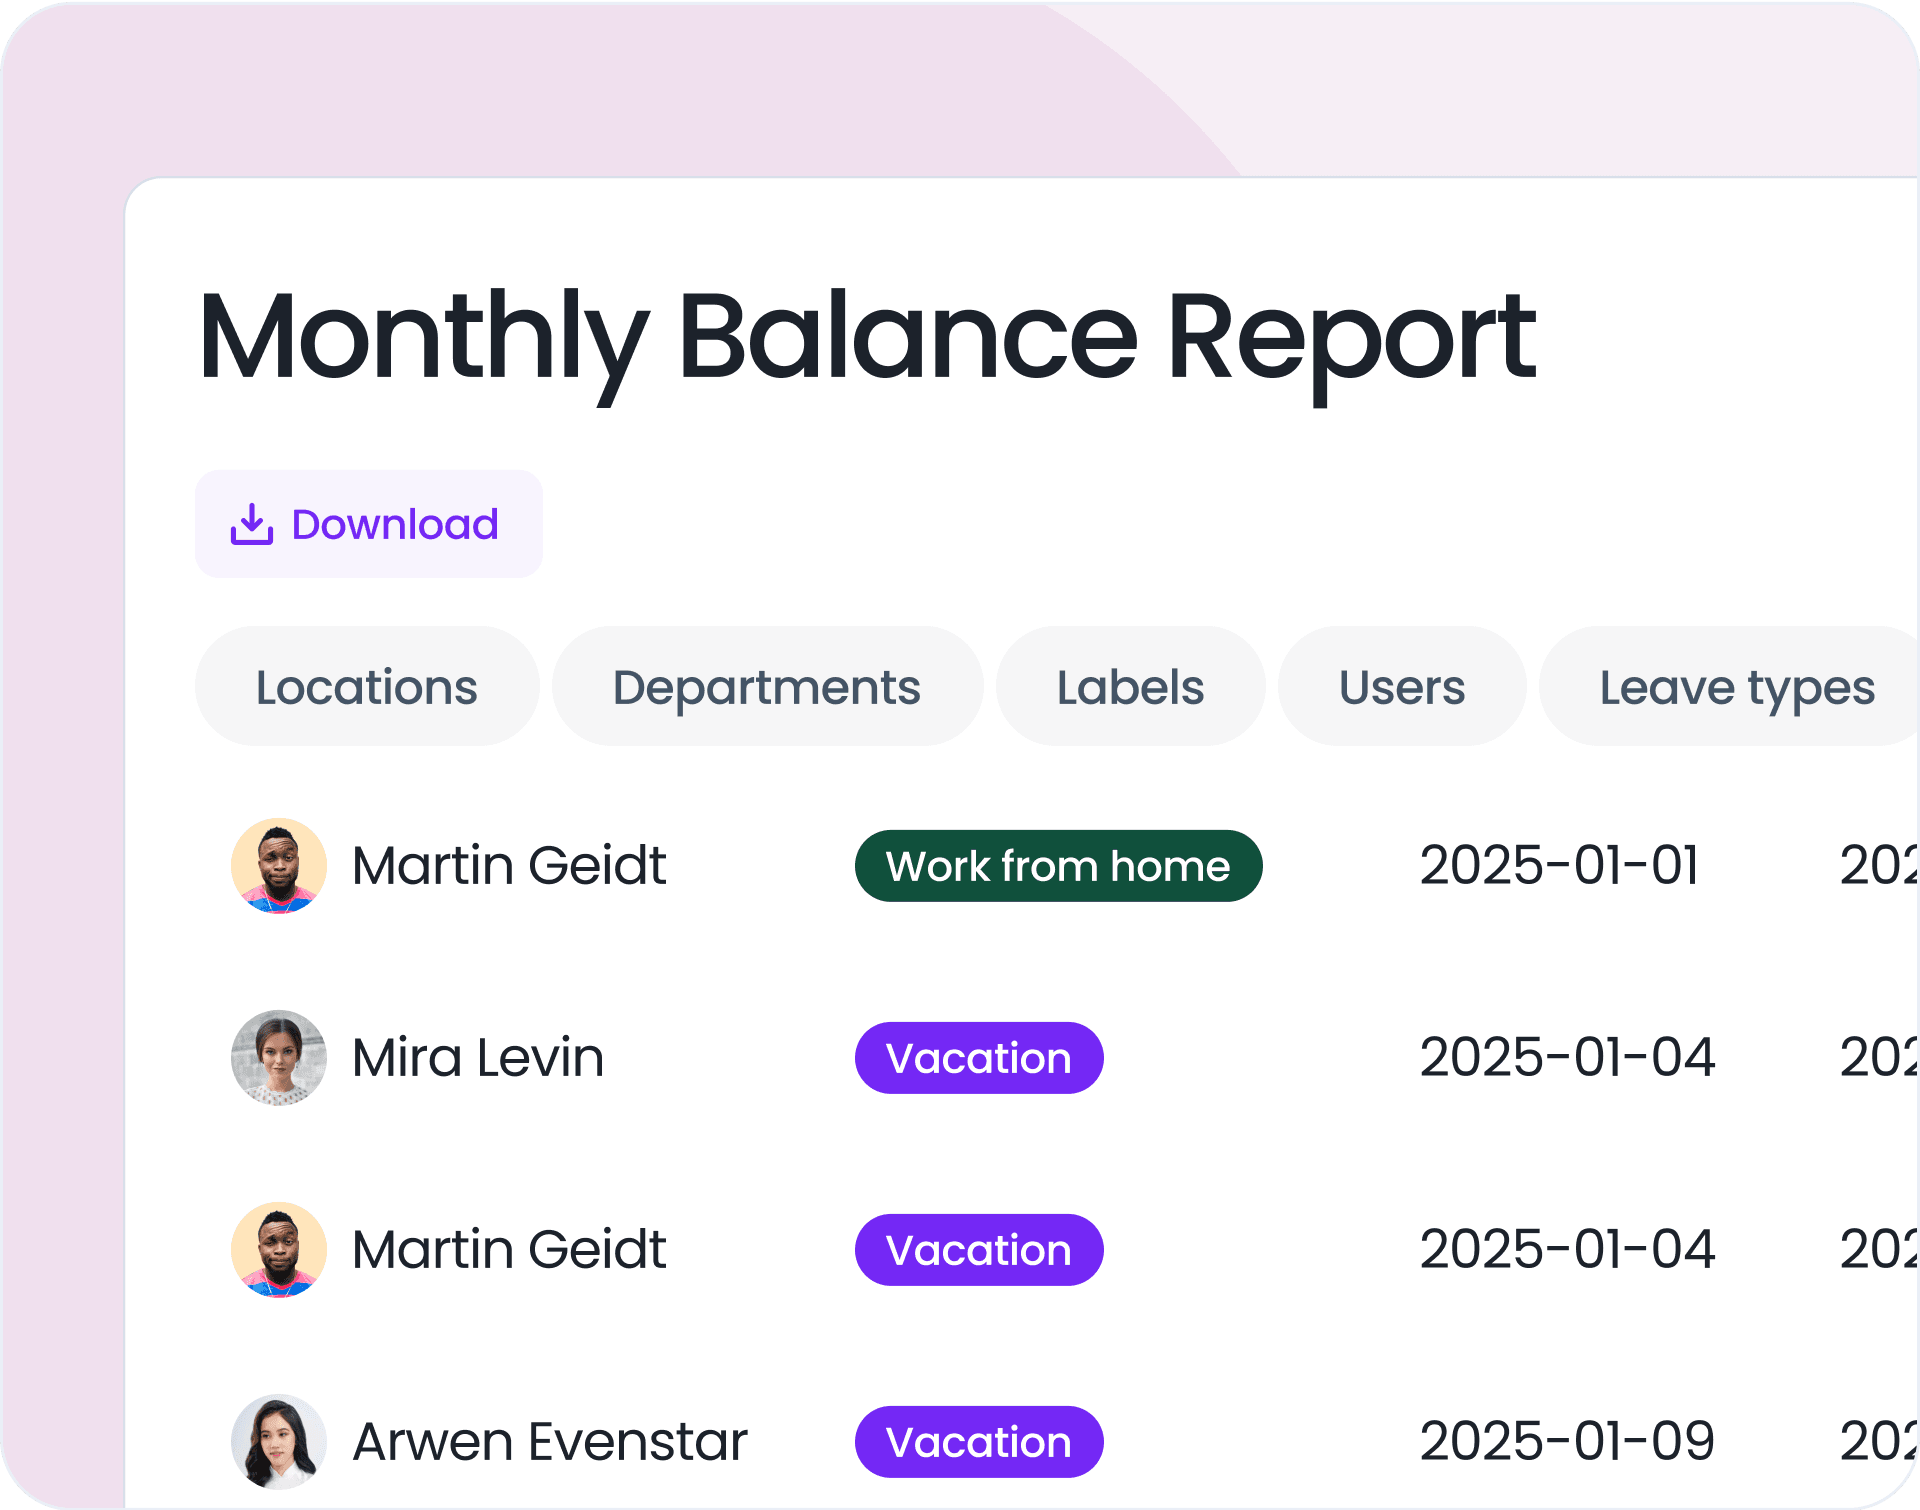
Get a month-by-month view of leave balances, including taken and scheduled leaves for the next 12 months, so you can plan ahead with confidence.
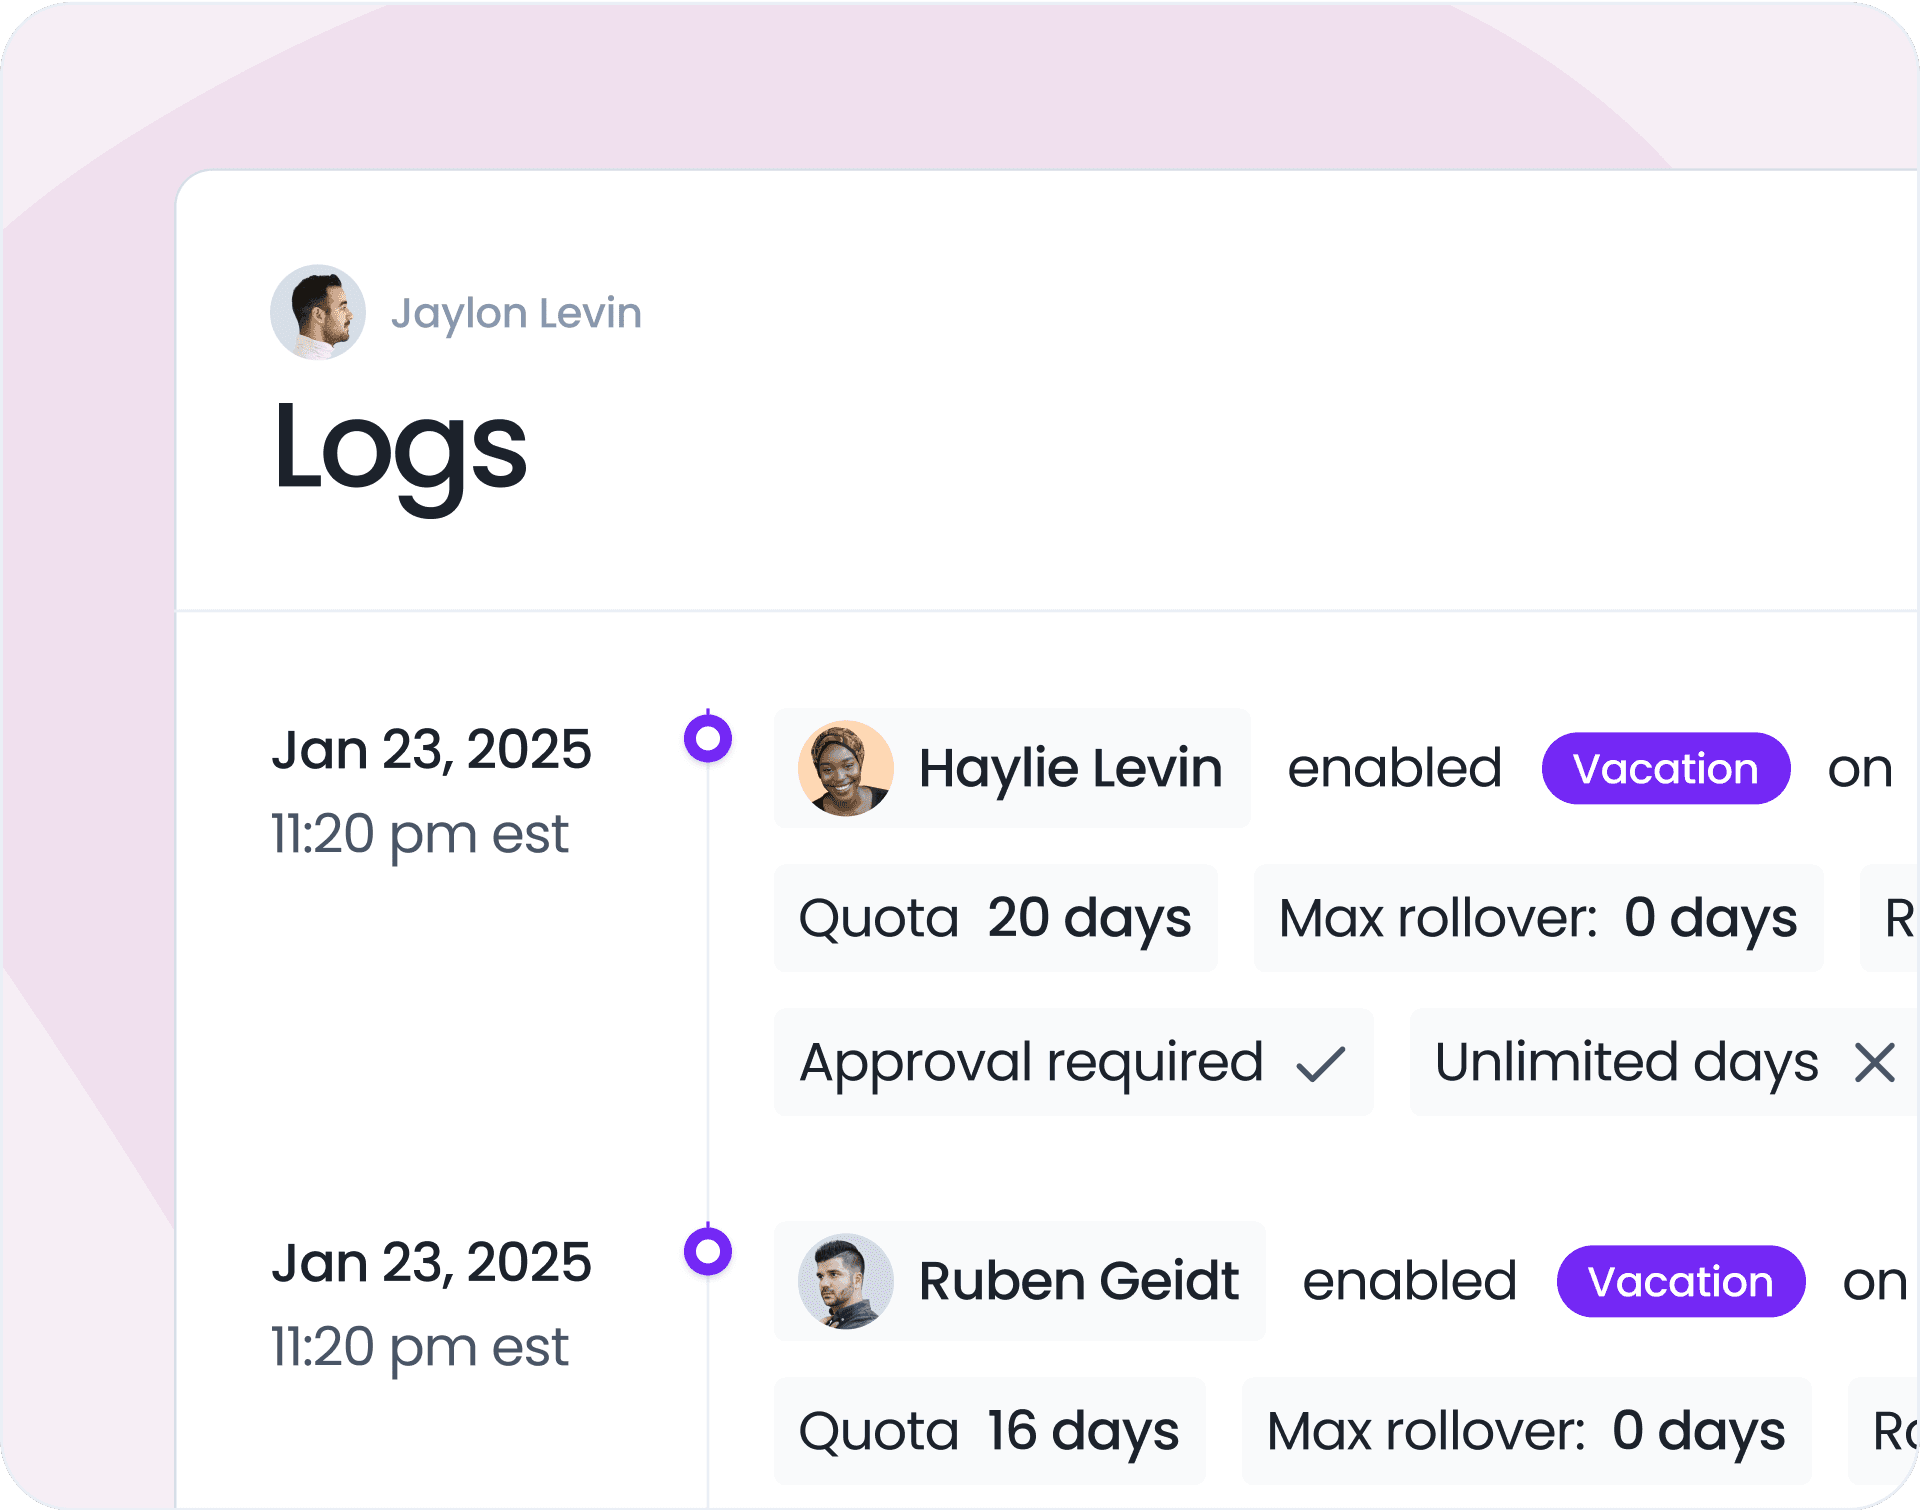
Always know what changes were made and by who, so you never lose track of important updates.
Automate reports and receive them directly in your inbox. Stay informed with accurate data for management and payroll—without manual work.
Visibility Manager
Restrict leave visibility, so departments can only view their own leave data, not the entire organization’s.
Learn More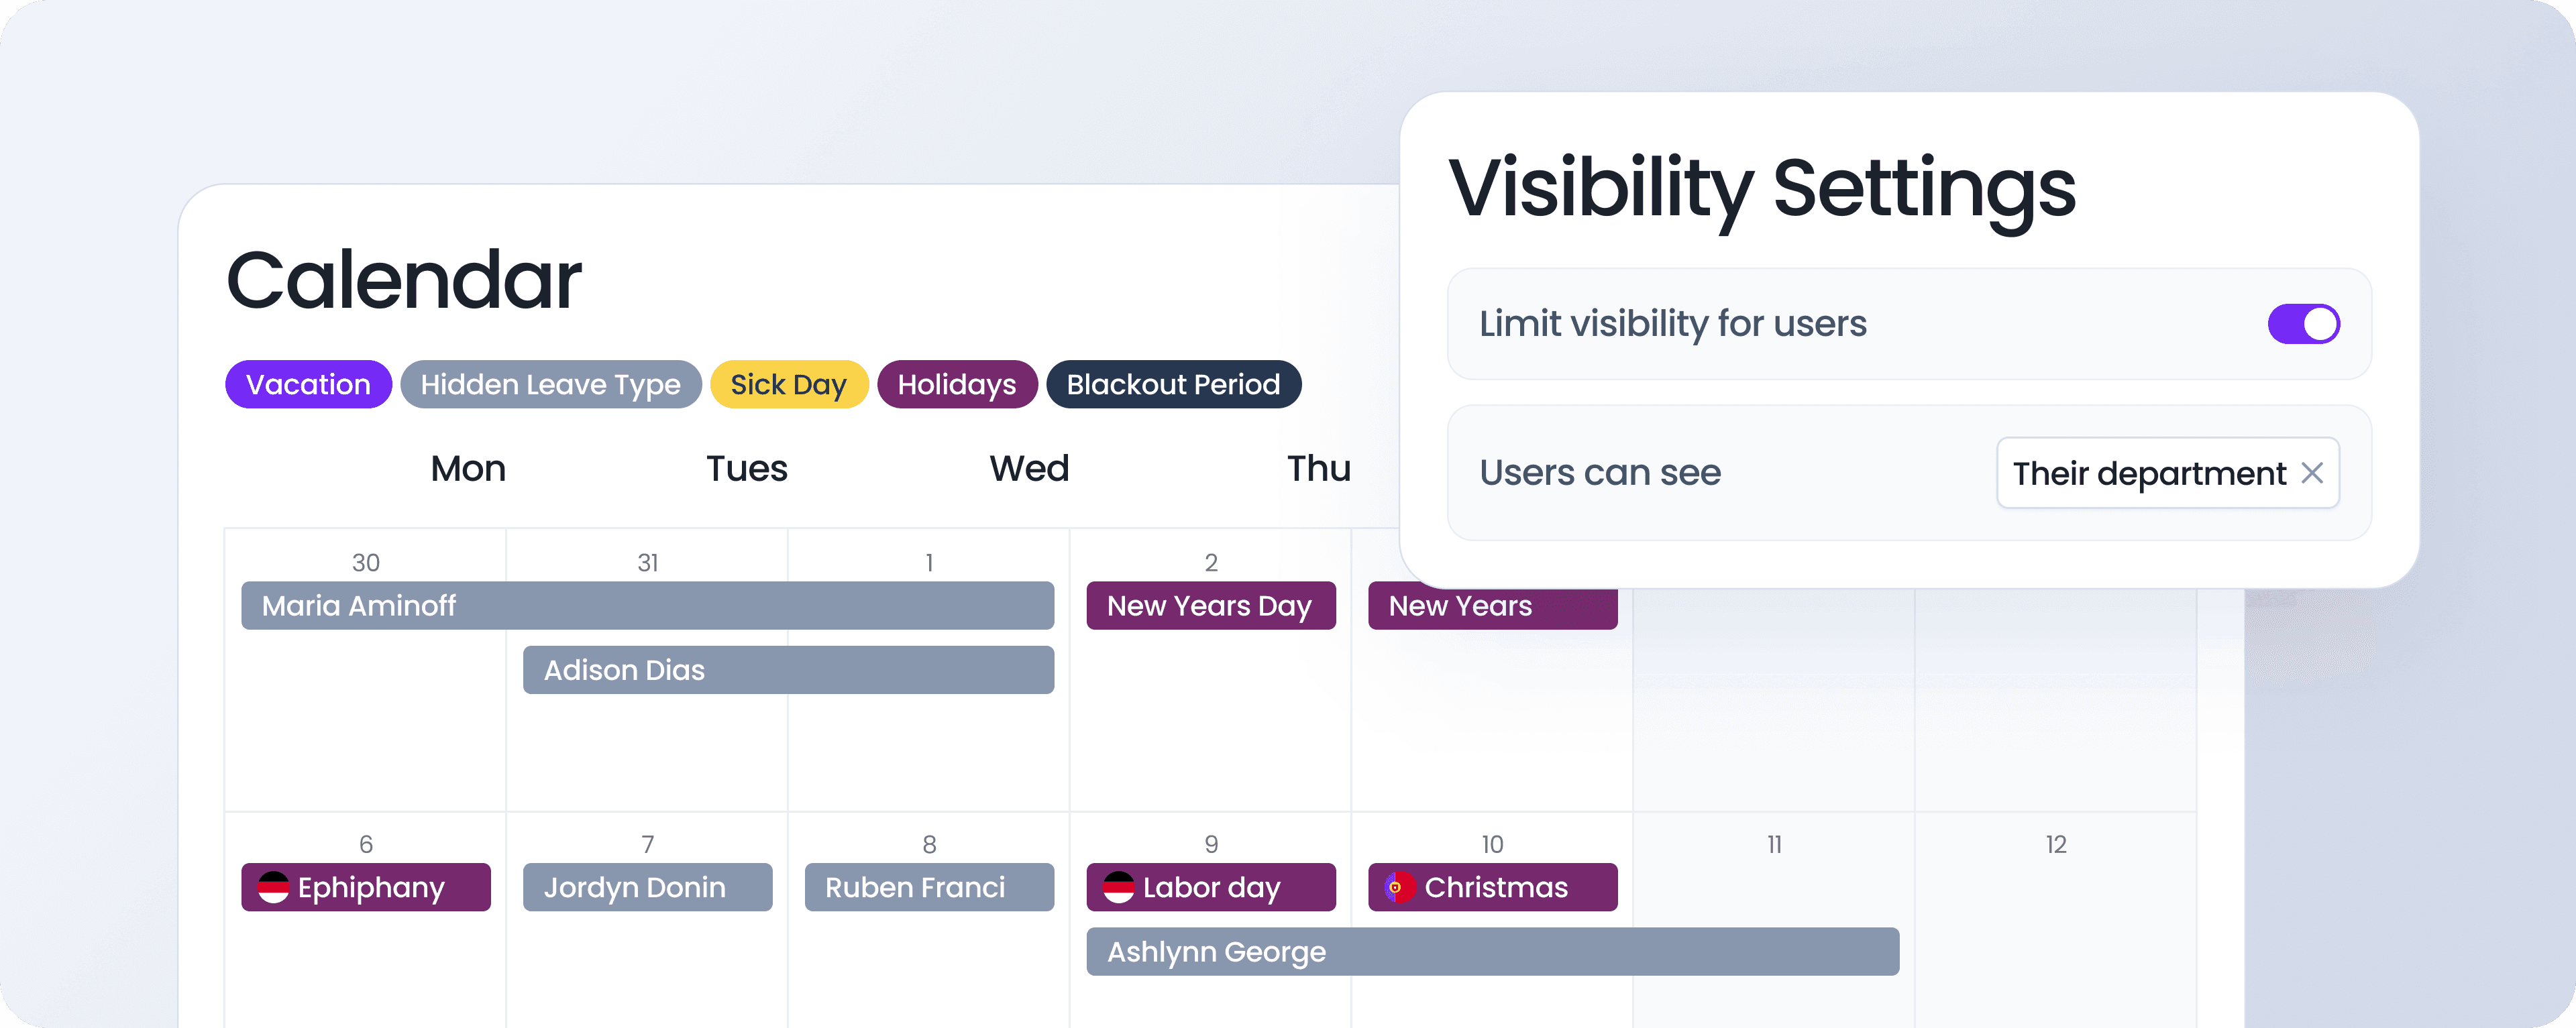

The ease with which everyone transitioned across to using Vacation Tracker without asking a million questions was impressive!
Explore Our Full Range of Capabilities
Easily track and manage time off with Vacation Tracker’s many helpful features.

Policies
Easily set up and manage your company’s leave policies, ensuring everyone follows the same rules for time off. Customize it to fit your needs and keep things consistent across your team.
See Policies
Smart Scheduling
Automatically track time off and avoid scheduling conflicts. With smart scheduling, you can ensure enough team members are available at all times without manually checking every request.
See Smart Scheduling
Leave Approval
Eliminate the back-and-forth on leave requests by automating the entire process. Set up automatic approvals and define multiple levels of approvers for easier management.
See Leave Approval
Team Management
Give your team more control over their time off by allowing them to submit, manage, and track their own leave requests. This helps them feel more independent and reduces the workload on managers.
See Team Management
Automate  PTO tracking for your
growing team,  worldwide
Get started for free.
Add your whole team as your needs grow.
On a big team? Request a demo
Integrations
We work where you work
Slack
Import users from your directory and automatically handle all requests without ever Slack.
Microsoft Teams
Request leave through the bot, add custom tabs, and bring Vacation Tracker into Teams.
Google Workspace
Automate leave tracking and receive leave requests and reminders straight to your inbox.
Never worry about time off tracking again
Vacation Tracker lets you fully customize your leave tracking without limits,
growing with your needs as your team expands.
Sign up for free
Try all Vacation Tracker features free for 7 days. No commitment, no credit card needed.
Get started for freeSee How It Works
Book a call with our team to learn how Vacation Tracker can help your team.
View demo