





Last updated on February 24, 2026
How do I turn on/off MFA (multi-factor authentication) in Vacation Tracker?
Each Email Only user can turn on multi-factor authentication on their own account from the dashboard. Once enabled, every login requires a 6-digit code from your MFA app in addition to your password.
Email Only integration
This feature is only available for our Email Only integration. For more information, see Does Vacation Tracker have MFA (multi-factor authentication)?You'll need an MFA app first
Users must have an MFA application that they will connect with Vacation Tracker. Some examples: Bitwarden, Microsoft Authenticator, Google Authenticator, Authy, etc.Each user enables their own
Within Vacation Tracker, Admins are not able to turn on the MFA option for the users — each user must turn on the option for their own account using the online dashboard.Open the MFA Setting
- Go to the online dashboard at app.vacationtracker.io/signin and click Sign In with Email.
- Once logged in, click on your name in the bottom-left corner.
- Choose Account Settings from the menu.
- Under the Account Settings tab, scroll to the Multi-factor authentication section. You will see the Enable MFA toggle (Yes / No).
Turn MFA On
- While under Account Settings, go to the Enable MFA option.
- Click Yes to turn on MFA.
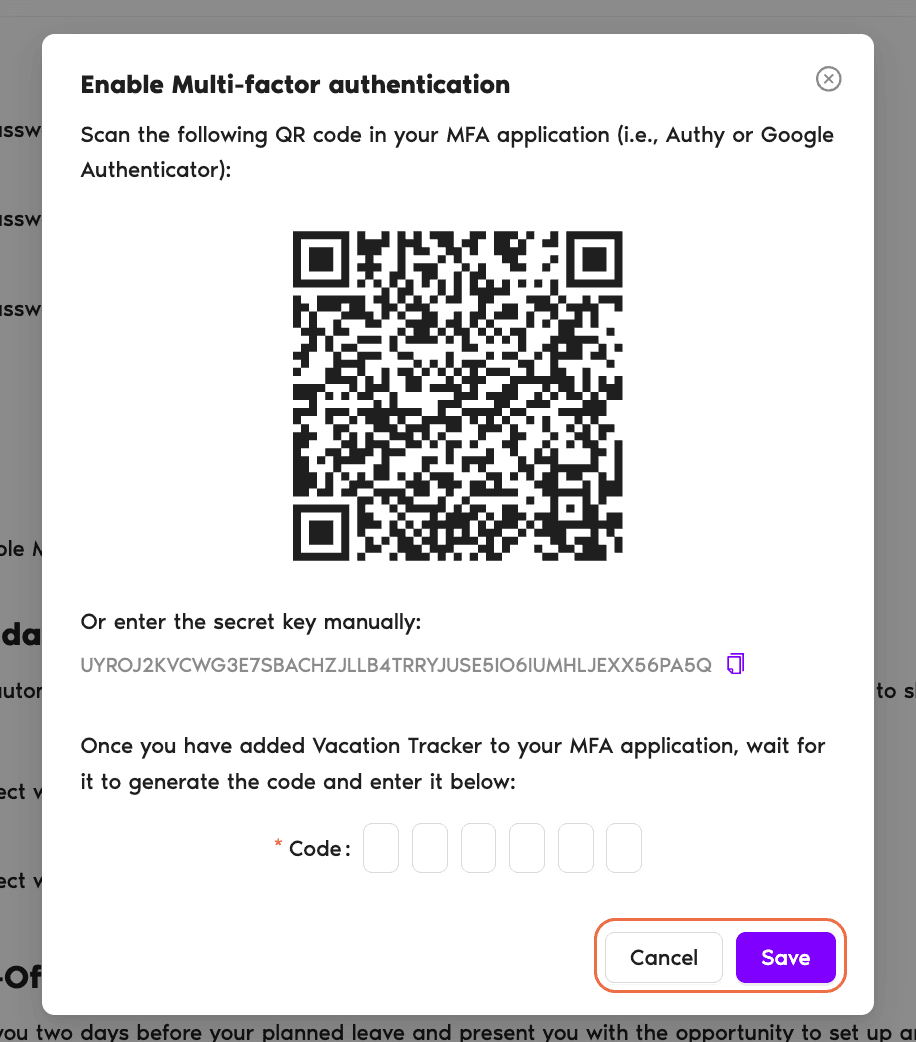
- A new pop-up titled Enable Multi-factor authentication will open with a QR code that you can scan into your MFA application. If you aren't able to scan the QR code, copy the secret key shown below the QR (there's a copy icon next to it) and enter it manually into your MFA app.
- Once you enter the secret key or scan the QR code, your MFA app will generate a 6-digit code. Enter that code into the Code field at the bottom of the pop-up and click Save.
- Once the code is entered and matches, you will receive confirmation that the MFA option is now fully enabled.
From now on at login
Whenever you log into the dashboard and enter your credentials, you will be prompted to enter the 6-digit code from your MFA application.Turn MFA Off
- While under Account Settings, go to the Enable MFA option.
- Click No to turn off MFA.
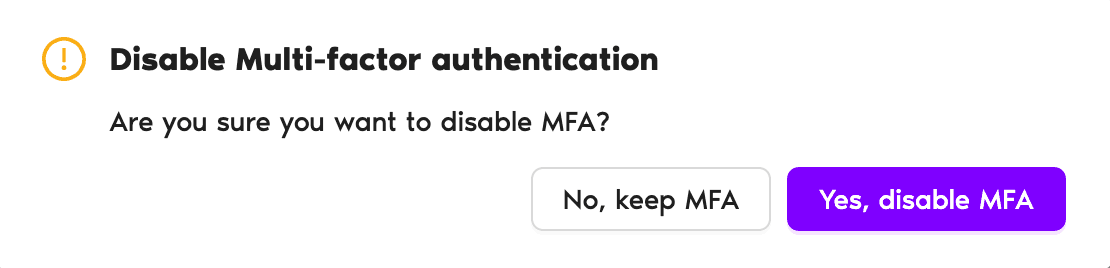
- A confirmation pop-up will open to ask if you're sure you want to make the change. If you are, click Yes, disable MFA.
Vacation Tracker security
For more information on Vacation Tracker security, see vacationtracker.io/security. Book a Call