Last updated on February 13, 2026
How do I Add my Upcoming Leave to my Personal Calendar?
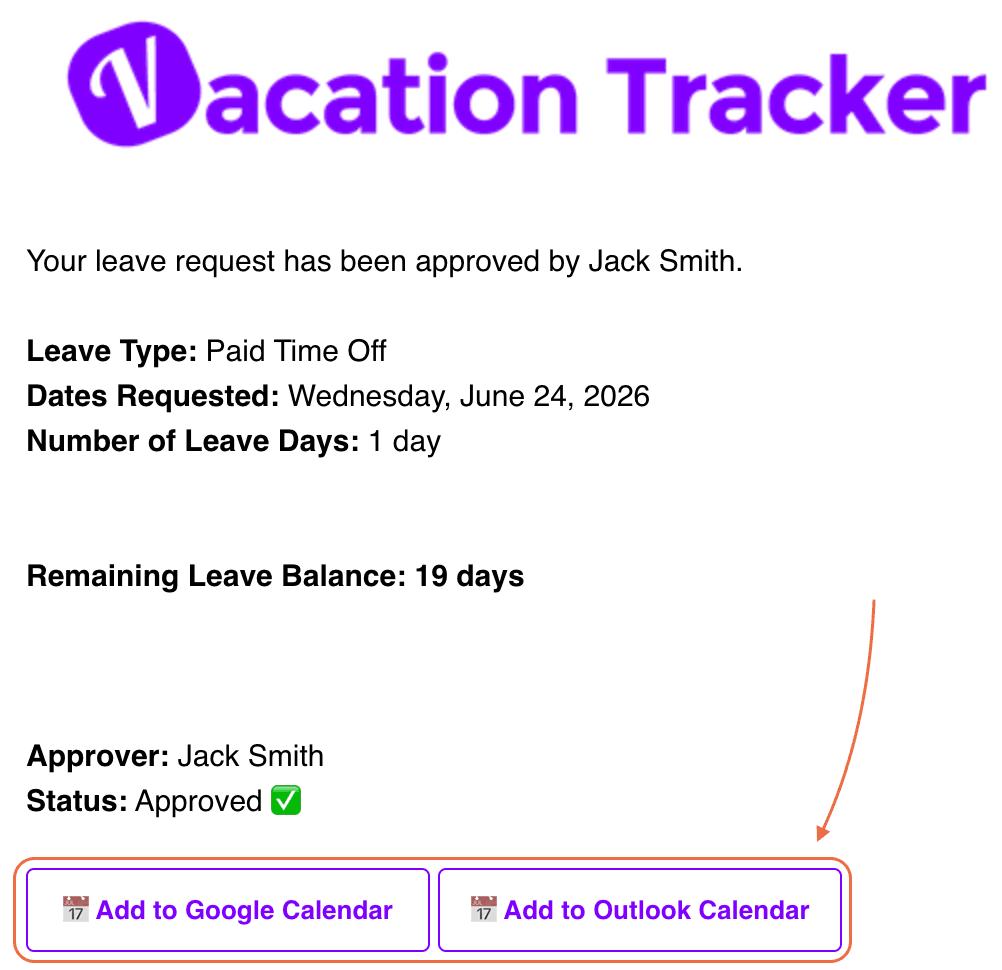
Once a leave is approved, Vacation Tracker offers a one-click Add to Calendar button that pushes it into your personal Google Calendar or Outlook calendar — so the days you're out get blocked off and meeting tools see you as unavailable.
Slack
- Submit your leave with
/vacationin Slack. - When the approval notification arrives, click Add to Calendar on the message.
- Pick the calendar to add it to. A new window opens with the leave's details.
- Edit the leave name if you want, then click Save.
Microsoft Teams
- Submit your leave through the Vacation Tracker bot in Teams.
- When the approval notice lands, click Microsoft 365 Calendar in the approval card.
- You're redirected to your Microsoft 365 calendar with the leave type, time, and dates pre-filled.
- Optionally rename the event, then click Save at the top-left.
You can also click the Calendar icon on the left of Teams to verify the event was added.
Google Workspace
- Sign in at app.vacationtracker.io and submit your leave from the Request Leave button.
- After approval, you'll see an Add to Calendar option on the dashboard alongside the approved leave.
- Click it. A window appears where you can change the leave type name to display on your calendar.
- Click Save.
Limitations to Know
Common Questions
No. This is a per-leave button you click after each approval. The automated personal calendar connection (linked in the What's Next) is set up once and pushes every approved leave automatically. Pick whichever fits your habit — manual control vs. set-it-and-forget-it.
The event stays in your personal calendar exactly as it was when you saved it. The one-click button doesn't sync changes back — you'd have to delete or update the event in your calendar manually. If you want changes to flow automatically, use the personal calendar connection instead.
If you approved your own leave (you're the only Approver in your Department, or you're an Admin acting as both requester and approver), the button doesn't show up on the approval card. Submit through the normal flow that routes to a different Approver and the button appears as expected.