Last updated on October 10, 2025
How Do I Create a Department within Vacation Tracker?
Once you sign up with Vacation Tracker all of the active users will be set to one Department by default, the Default Department. However, if like us you have multiple departments, you can create additional departments to manage your requests and to assign different approvers.
Let’s create your first department!
Step 1: Go to Vacation Tracker Dashboard - https://app.vacationtracker.io/signin
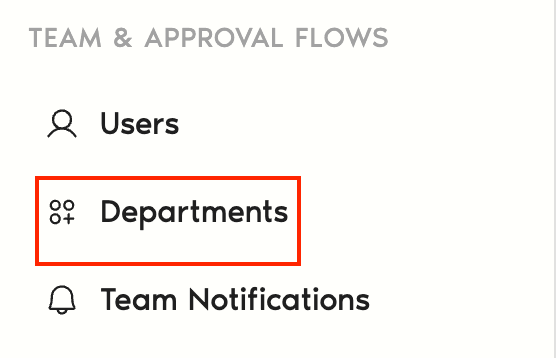
Step 2: On the left-hand side, under Team & Approval Flows, click on Departments
Step 3: Once on that page, click on Create New Department

A new page will open where you can enter all the necessary information!
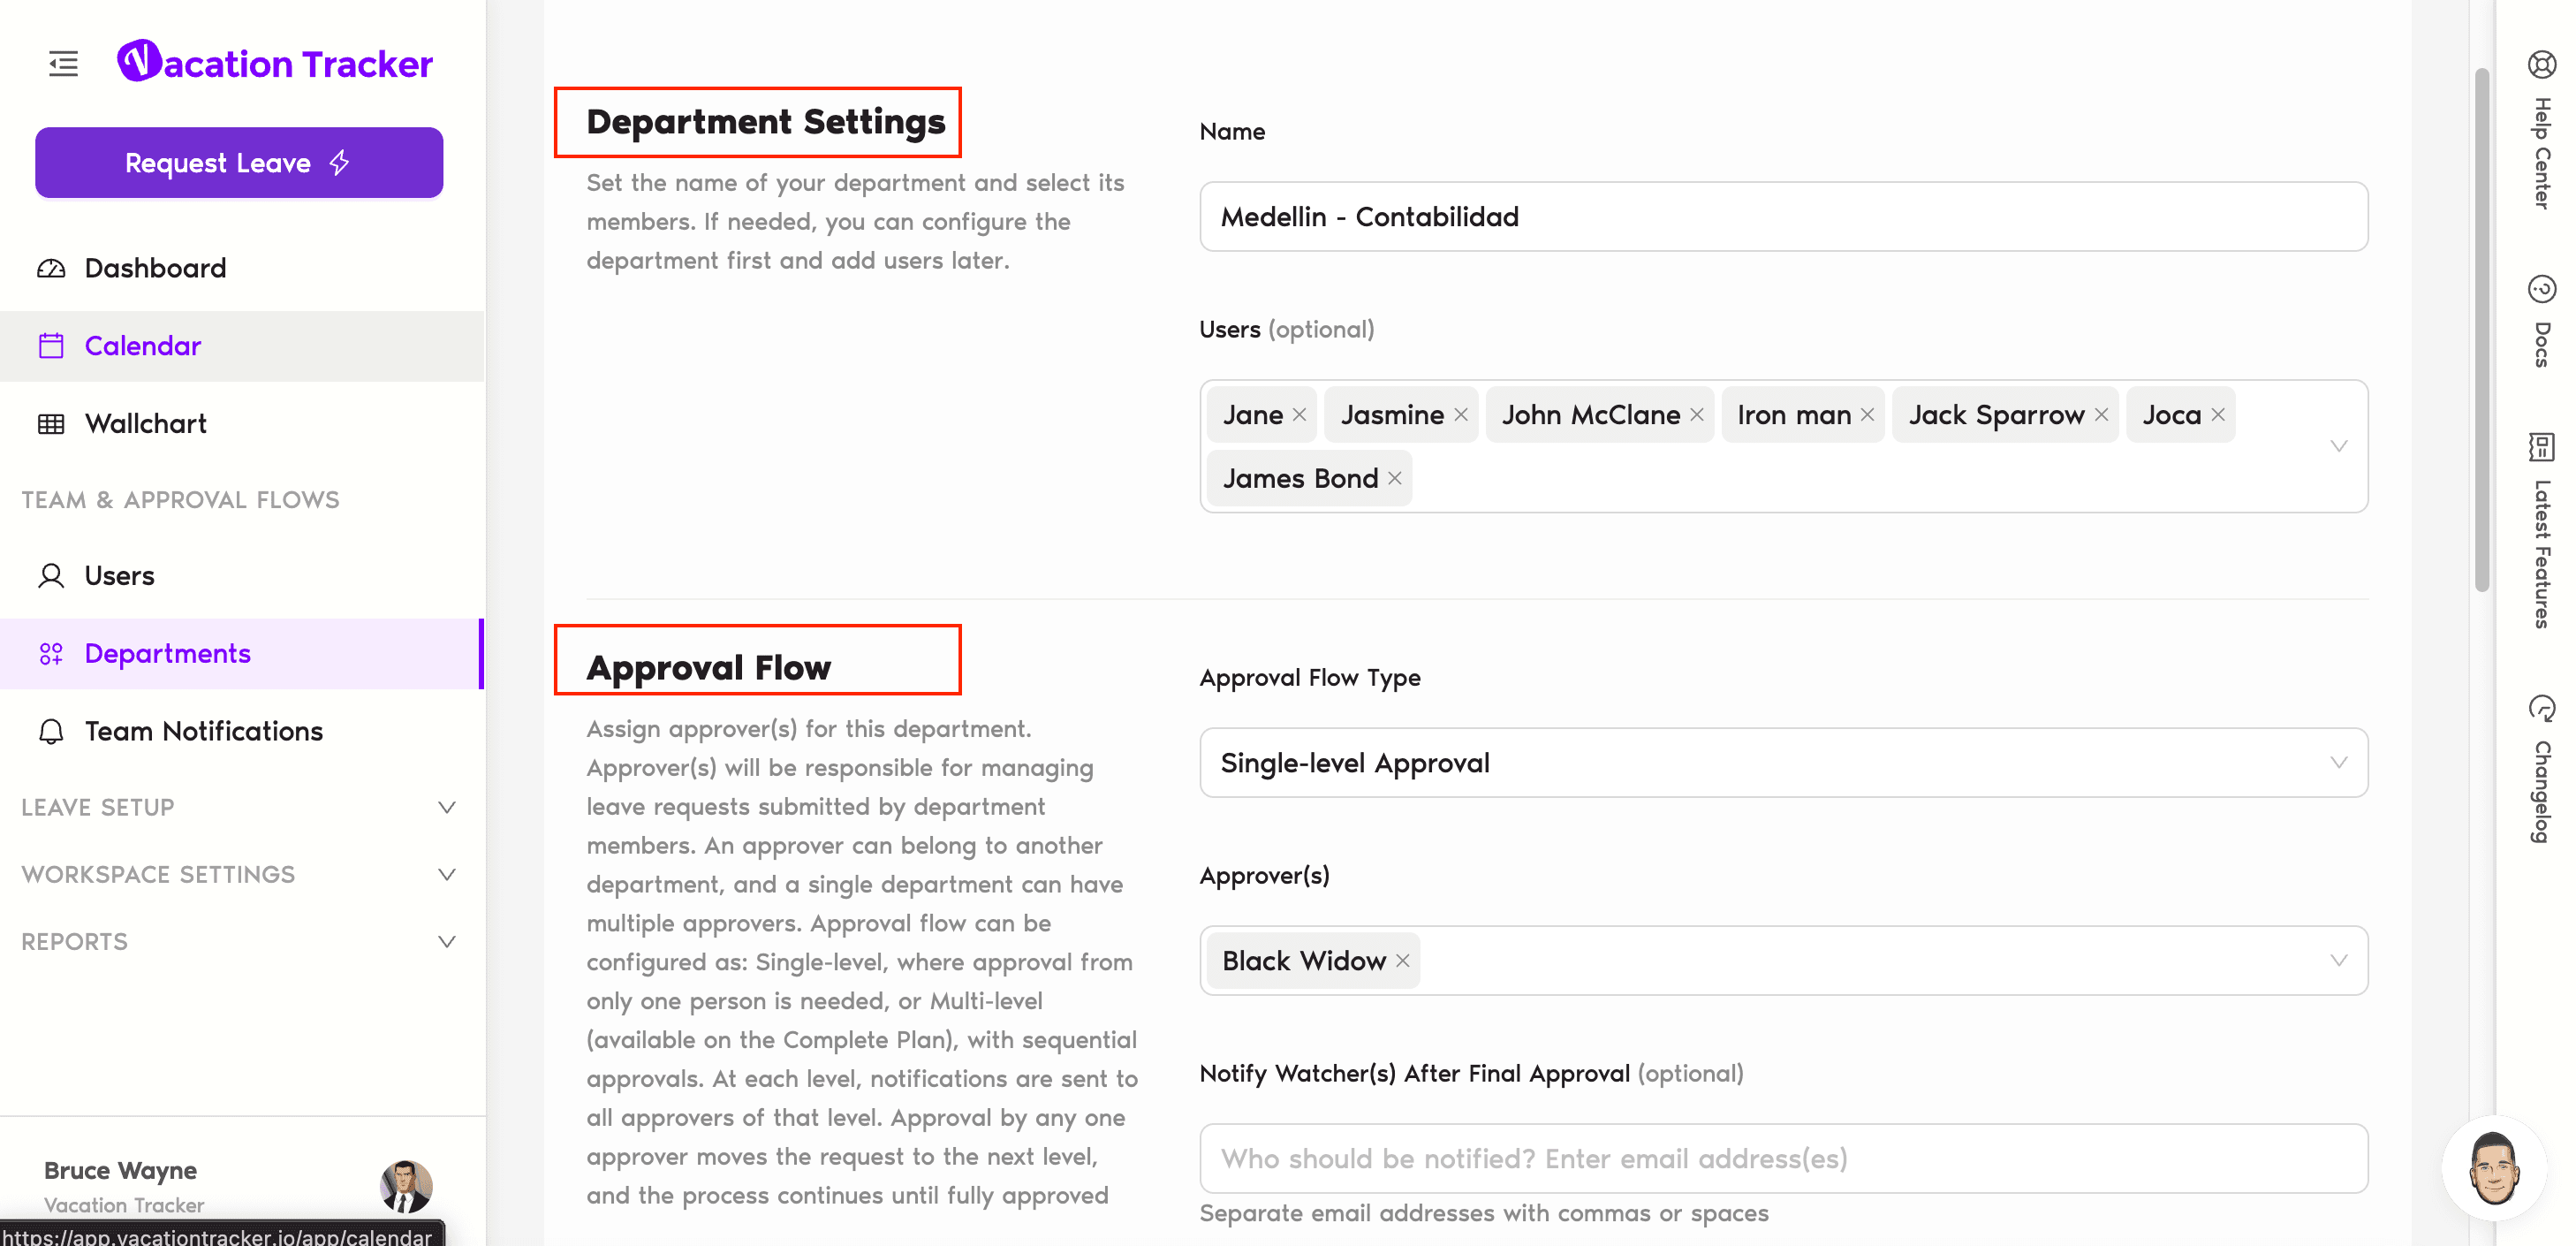
In the Department Setting, you would choose:
- The “Name”- enter the name of the department
- The “Users”- you can select which users will belong to the department.
In the Approval Flow section, you would choose:
- The Approver(s) - you can select which User(s) and/or Admin(s) will be the Approver(s) for this department. You could select a Single-Level Approval or a Multi-Level Approver.
- The Watchers (optional) after final approval.
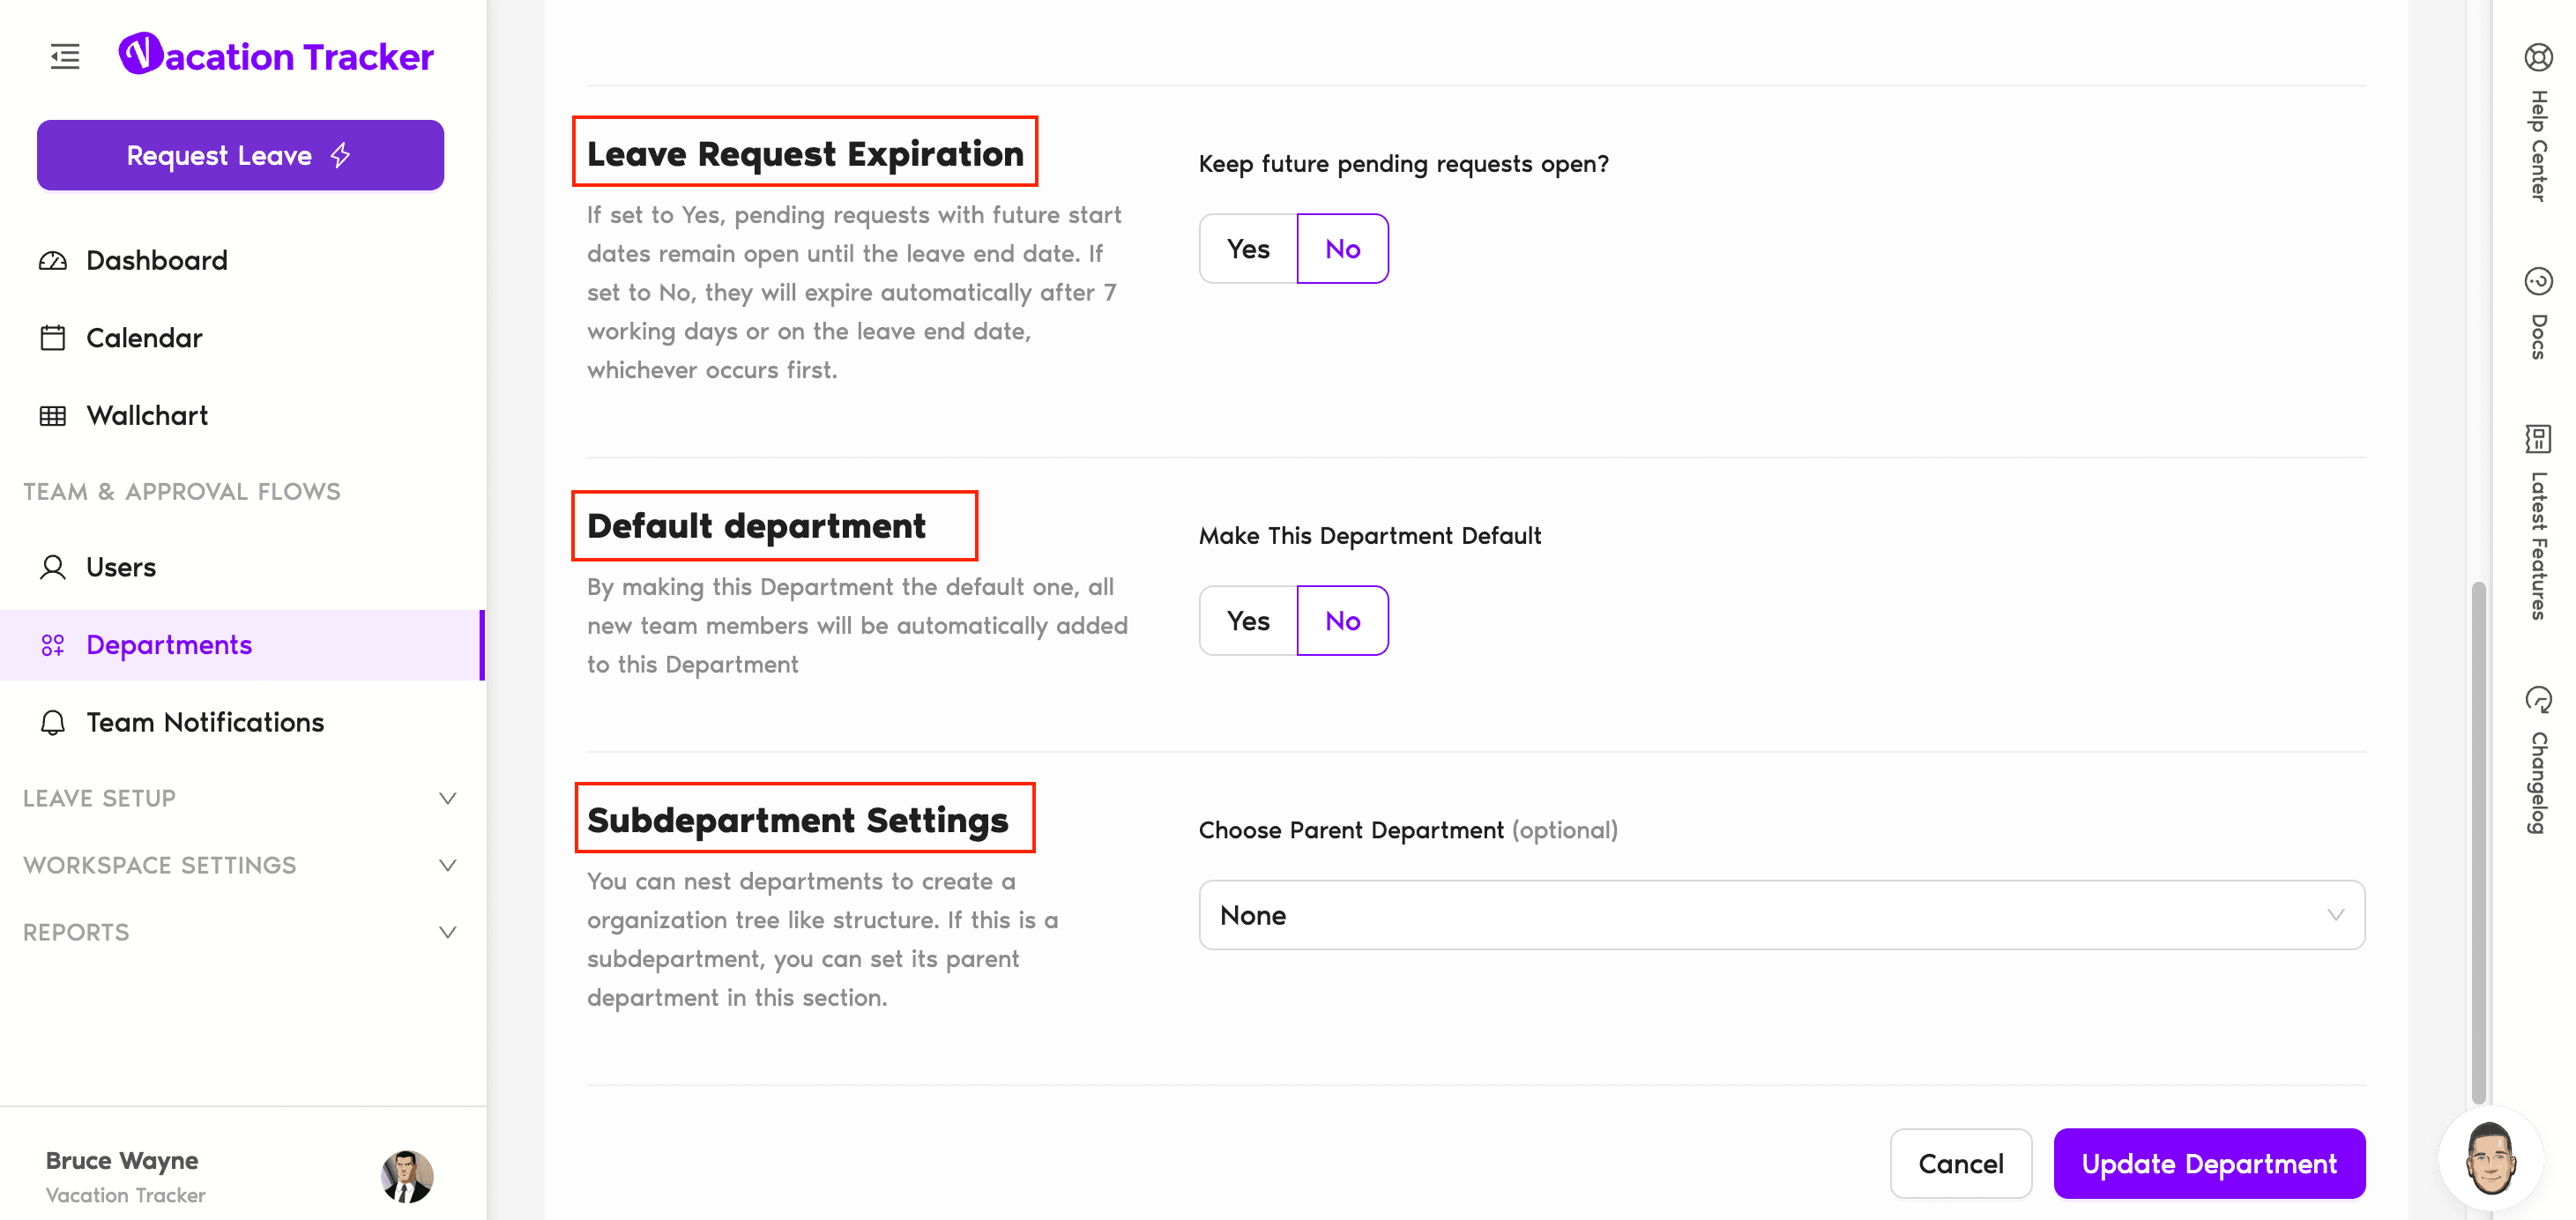
In the Leave Request Expiration section, you could choose to:
- Let the pending leave requests automatically expire after 7 working days, or on the leave end date — whichever comes first.
- Let the pending leave requests with future start dates stay open until the leave end date.
In the Department Default section- you can opt to have this as the default department, where all new users will be sent after being imported.
In the Subdepartment Settings – you could choose a parent department if there is any.
Step 4: When you are done, click on Create Department button and you are all set.
| After creating your department, you may want to set custom notifications for that department. You can do so using the steps outlined in this guide: Guide: Notifications Within Vacation Tracker