Last updated on October 10, 2025
How Do I Export a Leave Request Report (Leave History)?
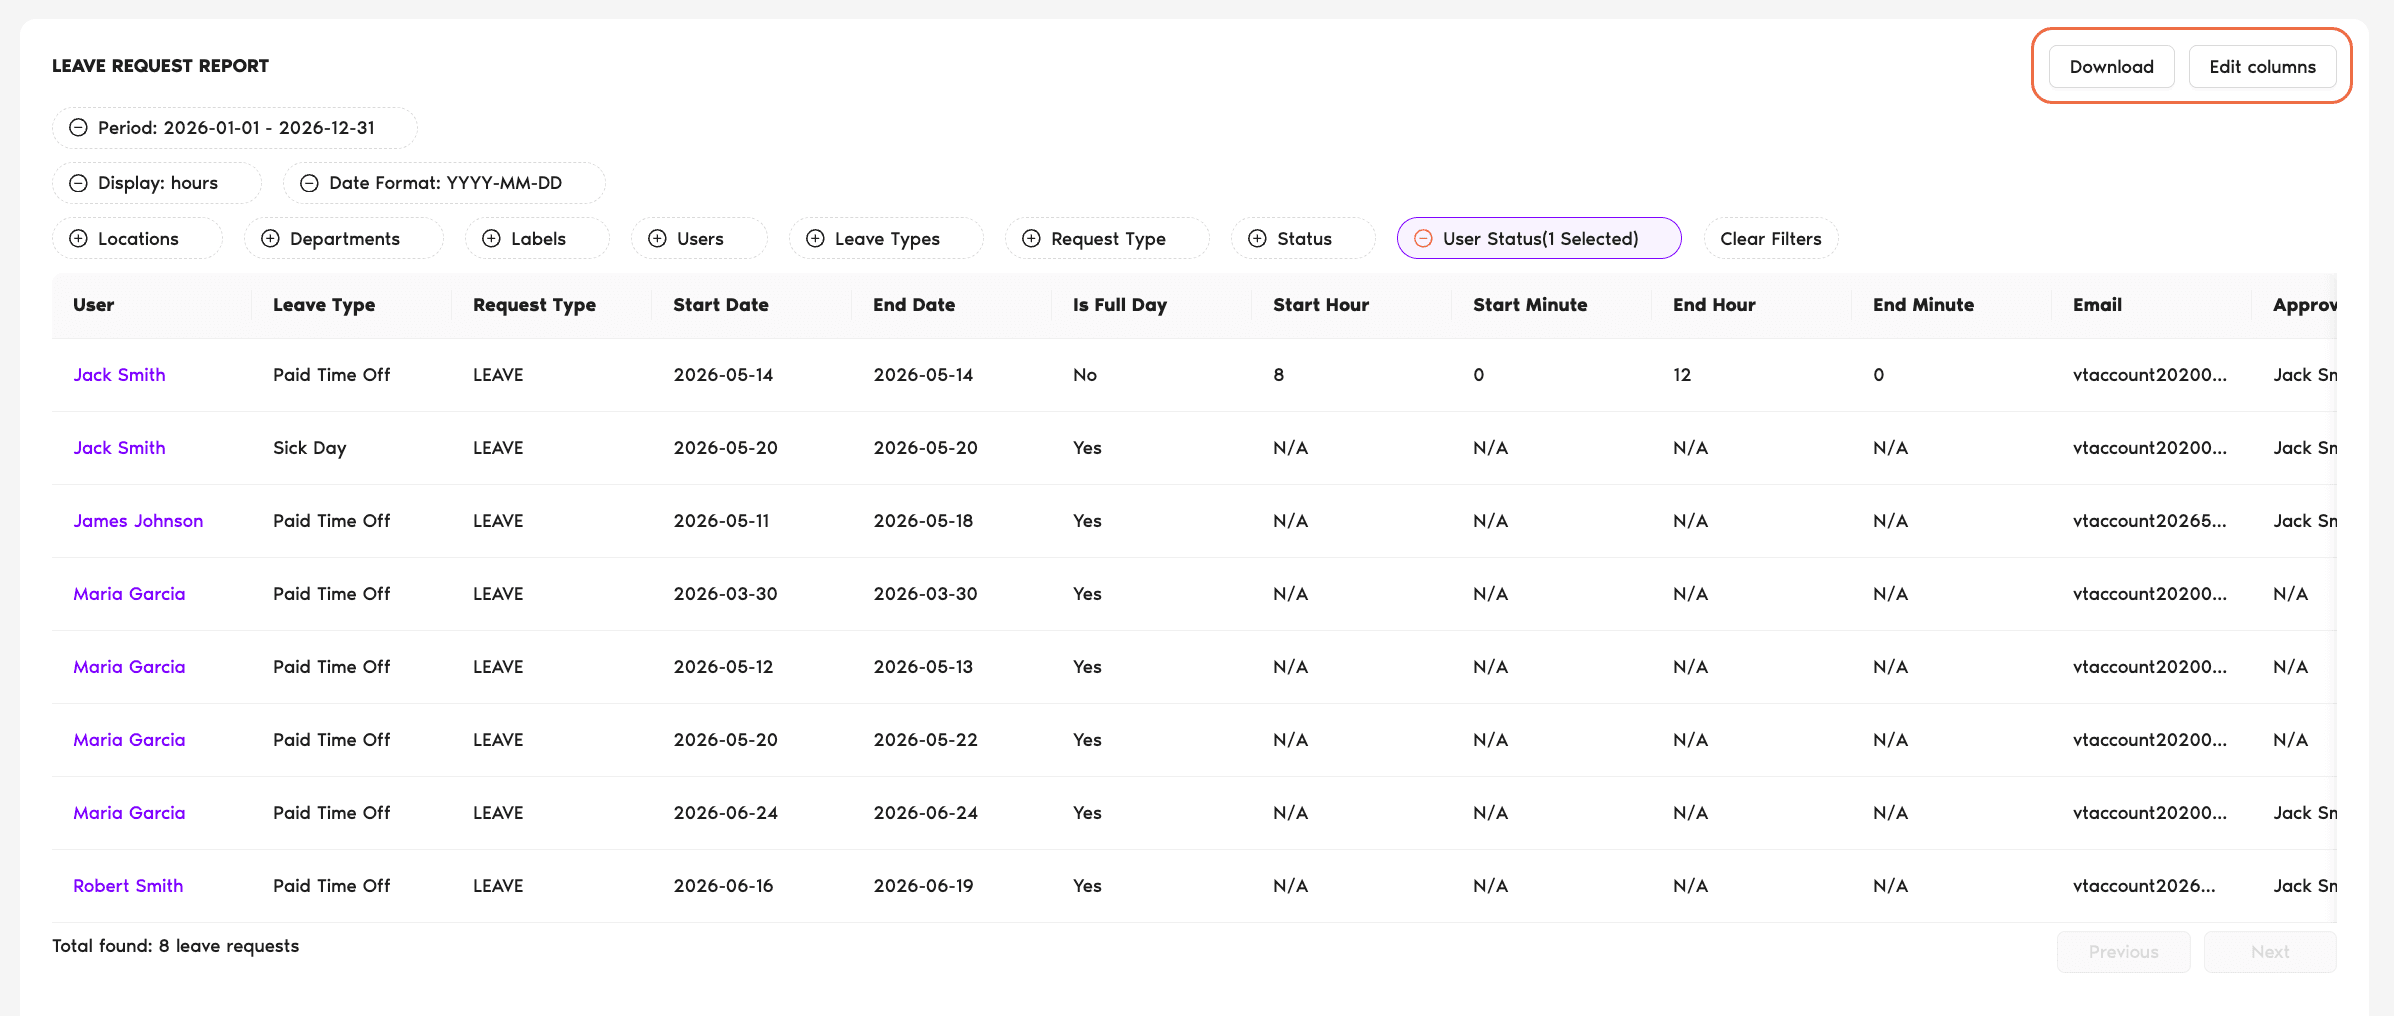
The Leave Request Report exports every leave request across your workspace into a spreadsheet — pending, approved, denied, expired — fully filterable by date, User, Department, Location, Leave Type, and status.
Steps
- Sign in at app.vacationtracker.io as an Admin.
- In the left menu, expand Reports and click Reports.
- On the Reports page, click Generate and export on the Leave Request Report card.
- Adjust the filters along the top of the report (see below).
- Optionally click Edit columns in the top-right to add or hide specific columns.
- Review the report table below the filters, then click Download in the top-right and pick CSV or Excel.
Filters You Can Apply
| Filter | What it controls |
|---|---|
| Period | Date range the report covers (defaults to the current year). |
| Display | Show duration in Days or Hours. |
| Date Format | How dates are formatted in the output (defaults to YYYY-MM-DD). |
| Locations | Filter to specific Locations only. |
| Departments | Filter to specific Departments only. |
| Labels | Filter by labels assigned to Users. |
| Users | Pick specific Users when other filters aren't enough. |
| Leave Types | Show only the Leave Types you want. |
| Request type | Leave requests only, or TOIL requests only. |
| Status | Pending, Approved, Denied, Cancelled, Expired. |
| User Status | Include inactive and deleted Users (active-only by default). |
A Clear Filters button at the bottom of the filter panel resets everything.
Edit Columns
The Edit columns button in the top-right lets you toggle which fields appear in the export — useful when payroll only needs the date, duration, and User, but not the reason or approver.
What's in the File
By default the report includes: User name, email, Employee ID, Department, Location, Leave Type, start date, end date, days/hours, status, approver, reason, and request submission date.