Last updated on February 13, 2026
How To Set Up Multi-level approvals
We're going to be taking a closer look on How to Create an Approval Flow for Leave Requests in Vacation tracker.
For further guidance, you can watch this YouTube tutorial on How to Create an Approval Flow for Leave Requests with Vacation Tracker:
| Note that this feature is only available to Complete Plan users, so Core Plan users will need to upgrade.
Here are the steps you need to take to configure it:
Step 1: Log in to the vacation tracker account using app.vacationtracker.io/signin
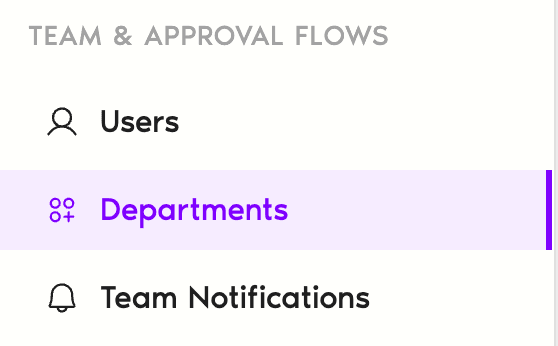
Once in, navigate to the Team & Approval Flows menu and select Departments.
Step 2: Choose which departments will require multiple approvals.
In this example, we chose the Support department. This department might require approval from both the department approver and the Operations manager.
Step 3: Edit the department and change the approval flow from the default single-level to multi-level in the dropdown menu.
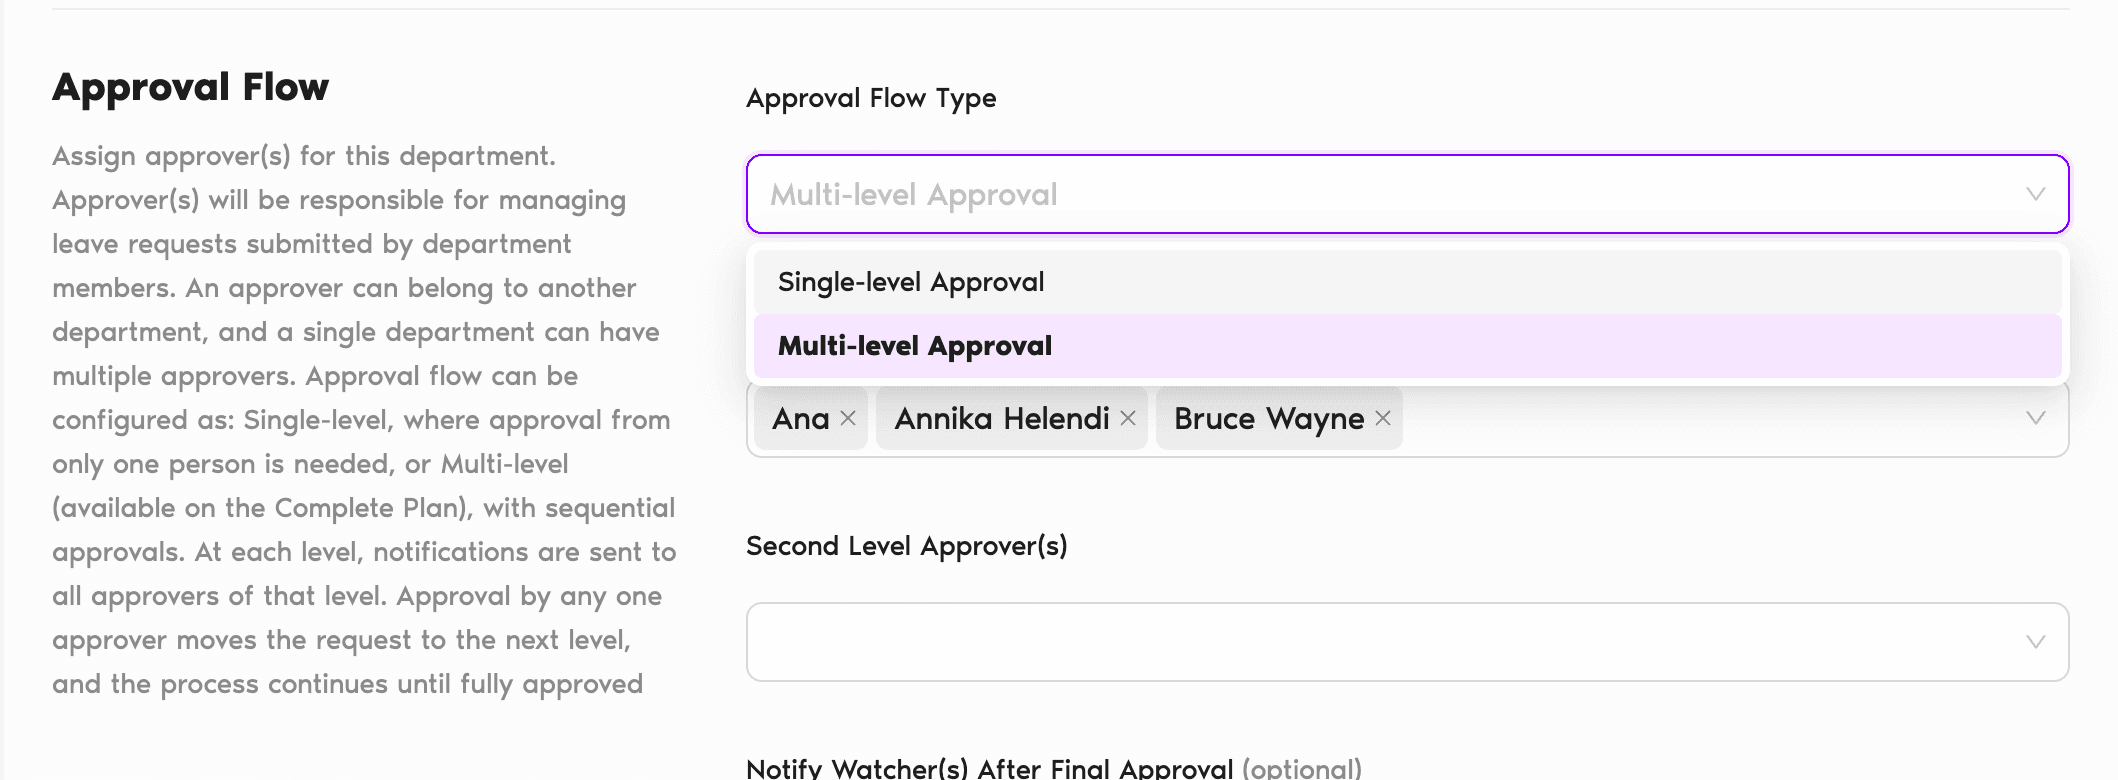
Multi-level approvals work sequentially:
The first-level approver is notified first, and only if they approve, the request moves to the second-level approver.
If rejected at the first level, the second level is not notified.
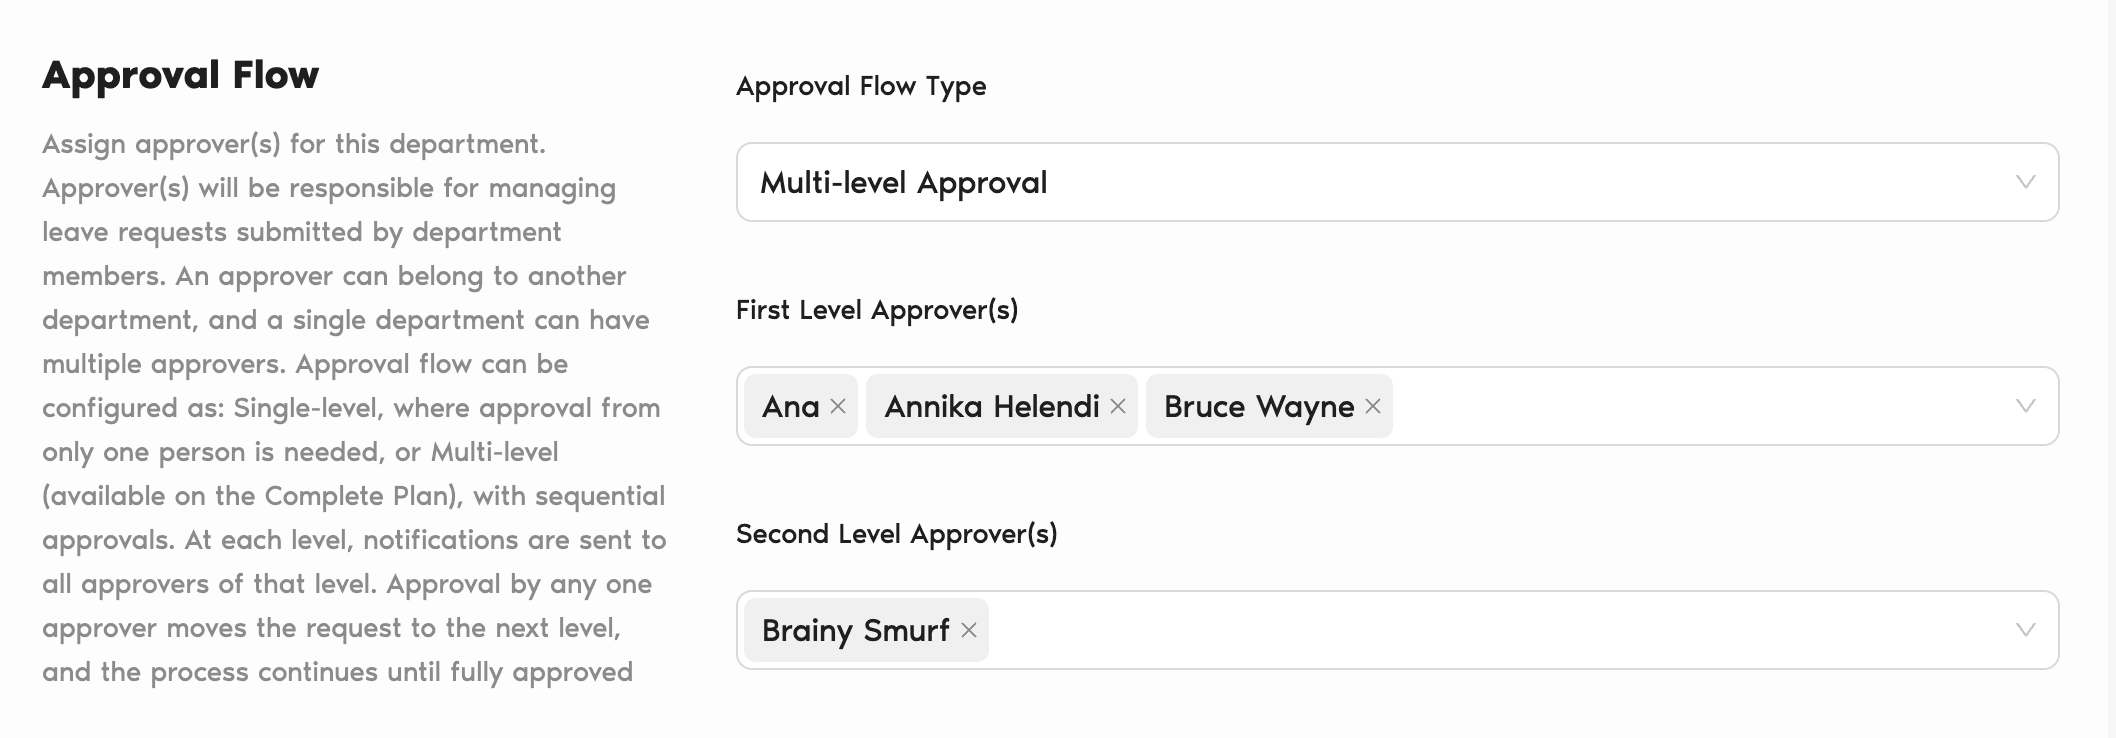
You can select more than one approver to be one the “First Level” and “Second Level”
Step 4: Click on “Update Department” at the bottom of the page.
User experience for requesting leaves remains the same, except they will now see more approvers listed. First-level approvers will be notified of their role in the process, and second-level approvers will see who previously approved the request.
Approvals can be managed directly through Microsoft Teams or Slack, with the bot indicating each approver’s level and prior approvals. This ensures the correct people are involved in the decision-making process for leave requests.
Here are related help desk articles can could be helpful during your search:
- How Do I Set an Approver within Vacation Tracker?
- Guide: What Can an Approver Do in Vacation Tracker?
- What Can I Do as an Administrator?