Last updated on July 1, 2026
How Do I Request a Leave?
Three channels, one form: dashboard, Slack, or Microsoft Teams. Pick the one that matches your integration. Whichever you use, the request goes to your Approver(s) for sign-off (unless your Leave Policy auto-approves).
Dashboard
- Sign in at app.vacationtracker.io.
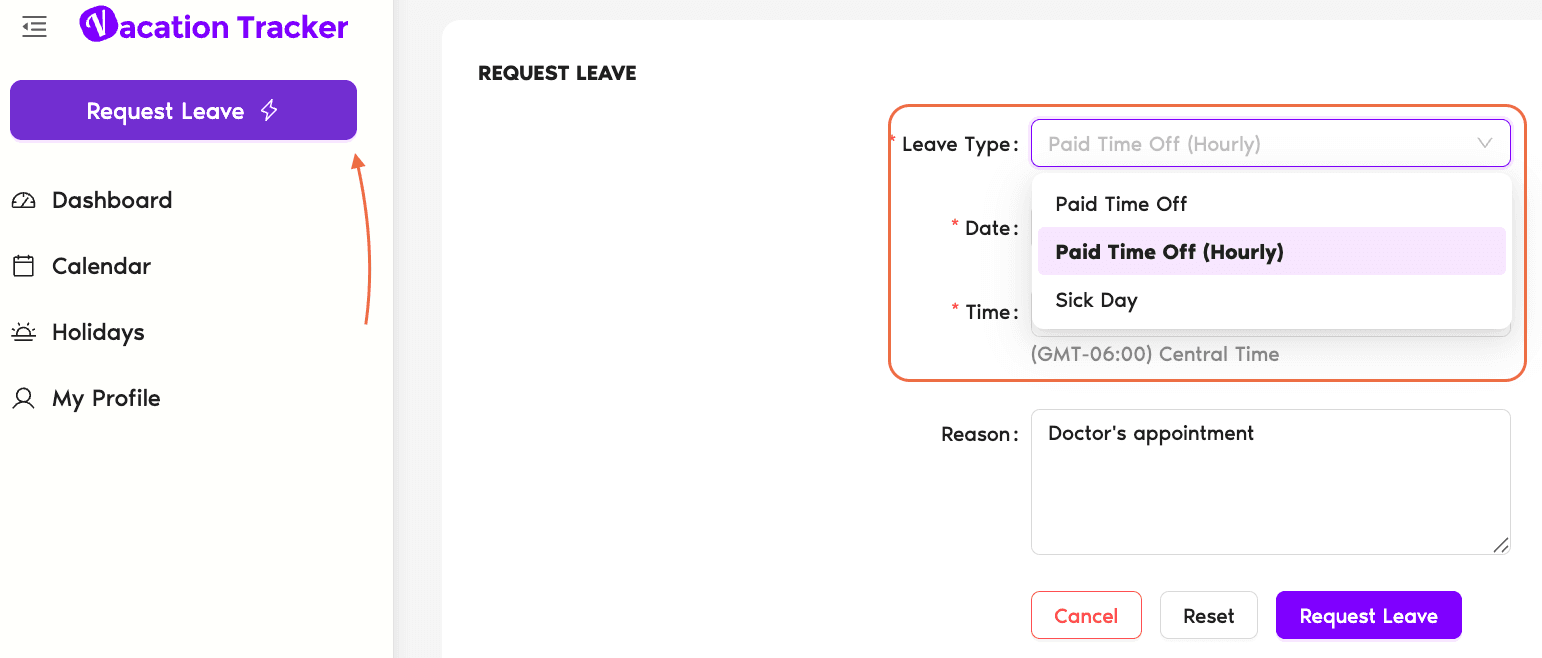
- Click Request Leave in the top-left corner.
- Pick the Leave Type from the dropdown.
- Pick the Start Date and End Date.
- If the policy requires a reason, add it (or just add context to help your Approver).
- Click Request Leave.
Slack
- Type
/vacationanywhere in Slack — channel, DM, or your own DM. The response is only visible to you. - Pick Request Leave from the menu.
- Fill in Leave Type, Start Date, End Date, and Reason in the modal that opens.
- Click Send Request.
Microsoft Teams
- Open the Vacation Tracker bot in Teams (left sidebar) or use the Vacation Tracker tab in your team.
- Type Request Leave in the chatbot, or click the Request Leave button on the My Profile tab.
- Pick the Leave Type, then click Next.
- Fill in dates and reason, click Submit.
What Happens Next
Common Questions
The Leave Type dropdown only shows types that are enabled on your Location's Leave Policy. If a Leave Type exists in the workspace but isn't part of the policy that ties Leave Types to your Location, it won't appear for you. Ask your Admin to confirm the policy includes the type you need.
Yes. A denied request closes out, but you can submit a new one with the same dates (or different ones). It goes through the same approval flow. If your Approver provided a reason, check it before resubmitting to avoid the same denial.
Only Admins and Approvers can. They use the Add Leave flow (different from Request Leave) — see How Do I Add a Leave for a User?